
In this article bassoonist/oboist Brittany McCorriston talks about the basics of reed care including tips for reed soaking, how to extend the life of a reed, and some tell-tale signs it's time to get a new one.
Reed Soaking
Having a properly soaked reed is imperative to getting the reed to vibrate properly. It takes some time to get used to soaking enough but not over-soaking. Below are some tips to ensure your reed is soaked and ready every time you go to play.
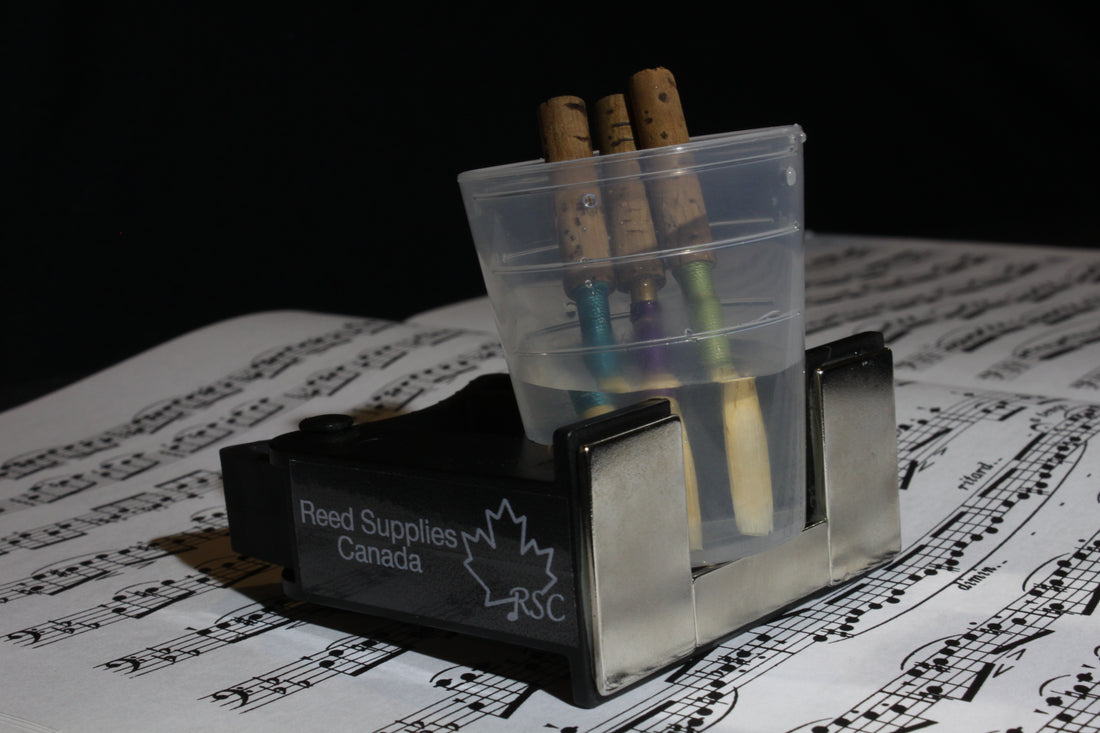
1. Use a Water Container

Fig. 1. Reed Soaker/Tool Holder $27.99
2. How Much to Soak
To ensure the cane is properly soaked oboe players should soak their reeds to the top of the string, and bassoon players can immerse the entire reed in water.
3. Soak for 1-3mins
It’s important not to over soak your reeds. An over soaked reed will have a decreased response and not vibrate as well. Soak your reeds for 1-3min to ensure over-soaking does not occur. If you are soaking multiple reeds, be sure to remove the ones you’re not using from the water cup and put them in a safe place once they are soaked.
4. Blow Out Extra Moisture
Moisture in the reed (and in the bocal), can cause an unwanted sound similar to what brass players experience except they have a water key on their instrument to empty moisture.
To blow out moisture, blow from the butt/bottom of the reed, this’ll remove excess moisture and help avoid the ‘fbulbblblb’ sound you get when there’s moisture stuck somewhere in your instrument.
Reed Care
All reeds will eventually die out and need to be replaced, however there are a number of things that you can do that will extend the life of a reed. Below are some tips to ensure you get the maximum amount of playing time out of a reed.
1. Use a Reed Case
Reed cases come in many different varieties both with how many reeds they hold, and the material they are made out of. The number one thing to look out for when purchasing a reed case is that it has proper ventilation. The plastic vials and cases that many store-bought reeds come in do not have proper ventilation and storing a wet reed in one will encourage mold growth. Always be sure to dry reeds fully before putting them in these cases. For plastic vials you can usually poke a hole in the lid, however the reed should still be relatively dry before going inside.
When purchasing a reed case, consider how many reeds are in your rotation and where you’re planning to store the reed case. In addition, ribbon cases that hold the sides of the reed are preferred to peg cases where you slide a reed onto a peg because they hold the reeds more secure and allow for more air to get inside and help dry the reed.
Pro Tip from a bassoon player: “I currently use a 10 reed case and that has always served me well, however I started with a 3 reed case loaned to me by my high-school band program. For my 10 reed, I typically have 5-6 playing reeds, 2-3 reeds I’m scraping/breaking in, and 1-2 blanks.”

Fig. 2. Wooden Bassoon Reed Case $59.99
2. Rotate Reeds
Rotating reeds can extend the life of your reeds in addition to other playing benefits. It’s common to have anywhere between 3-10 reeds in rotation. Having reeds at different stages of their playing cycle helps bring consistency to your playing, and means you’ll always be prepared for any situation. You always want to have a backup reed for emergencies, and rotating reeds ensures that if this happens, you won’t have to break in a new reed on the fly.
3. Dry Fully
It’s important to let your reed dry out between each use so that grime and mold does not build up on the reed.
Pro tips from a bassoonist: “Even though my reed case has ventilation, I still prefer to let my reeds dry out in the open whenever possible. At home, I have a dedicated space on my shelf, and at school with my locker, I make sure to take the reed case out of my instrument case and lay it open on the top shelf of my locker. I just have to be cautious that I don’t throw random things up there while they’re drying"
4. Cleaning
The best way to care for your reeds is to avoid having to clean them altogether. You can do this by taking steps to avoid getting guck and grime in the reed. This includes brushing your teeth before playing, rinsing reeds after playing, blowing out moisture, and allowing reeds to dry properly.
If you have to clean the inside of a reed, soak the reed and pull through a soft pipe cleaner. Hydrogen peroxide can also clean and disinfect a reed however it’s only recommended as a last resort as it can significantly diminish the life of the reed. Place the reed in hydrogen peroxide for 30sec-1min and then rinse with water.
Signs it’s Time for a New Reed
1. Visible Cracking/Chipped Tip
Any cracks and chips in the reed are going to affect how the cane vibrates in a negative way. The tip is the most fragile part of the reed so always be careful to protect it from coming into contact with objects. Always inspect your reeds after any kind of bump or fall and discard any with visible cracks or missing parts of the reed.

Fig. 3. Cracked Bassoon Reed (Left), Chipped Oboe Reed (Right)
2. Closing Down of Tip Opening
As a reed gets worn in the fibres in the cane become compressed and gradually the opening of the tip will become smaller. Soaking a reed for longer or pinching the reed open (oboists with their fingers, bassoonists adjust the 1st/2nd wire) can work in a pinch however the effect typically doesn’t last long, and it’s definitely a sign to start thinking about breaking in some new reeds.
3. Decreased Response
If your upper and lower registers have become difficult to play or you are making significant changes to your embouchure in order to compensate then this is a sign that your read is ‘dead’. Other signs may be that it is difficult to produce a sound and/or good tone.
A brand new reed can be wild and uncontrollable. As you break in a reed and make necessary adjustments it will start to produce a good sound and response. Once the reed has been played beyond this point, it’ll start to become more dull. You will have difficulty producing sound in the extreme registers and as the reed continues to age, it’ll become increasingly difficult.
4. Leaks
Leaks are typically due to forming and typically won’t appear randomly mid-playing cycle however are still worth noting because it can be a difficult problem to fix and often isn’t worth fixing. To check for leaks in a reed create a seal around the bottom of a reed with the squishy part of your finger and suck the air out of the reed. If the reed has a good seal, you will hear a popping sound when you take it out of your mouth. If there is a leak, there will be no popping sound and you may also be able to continually suck in air.
5. Loose Wires (Bassoonists Only)
Bassoon reeds will shrink with age and eventually the wires will become loose. It’s okay and actually normal to have a small amount of movement in the first wire (gentle rock), however the second and third wires should be tight. If your reed is wrapped with thread, the bottom part may also come loose and/or unravel. If wires are loose when dry but become tight once soaked, it’s okay to play on the reed. Monitor and tighten the wires as necessary.
Summary
Depending on how severe some of these problems are, it may be a sign that your reed is at or nearing the end of its life. Don’t be caught unprepared, know the signs and plan ahead. Start breaking in a new reed as soon as you notice one in your current rotation is nearing the end of its life.
Whether you purchase reeds or make your own, these tips will help you get the longest possible life out of your reed, and save you money.