
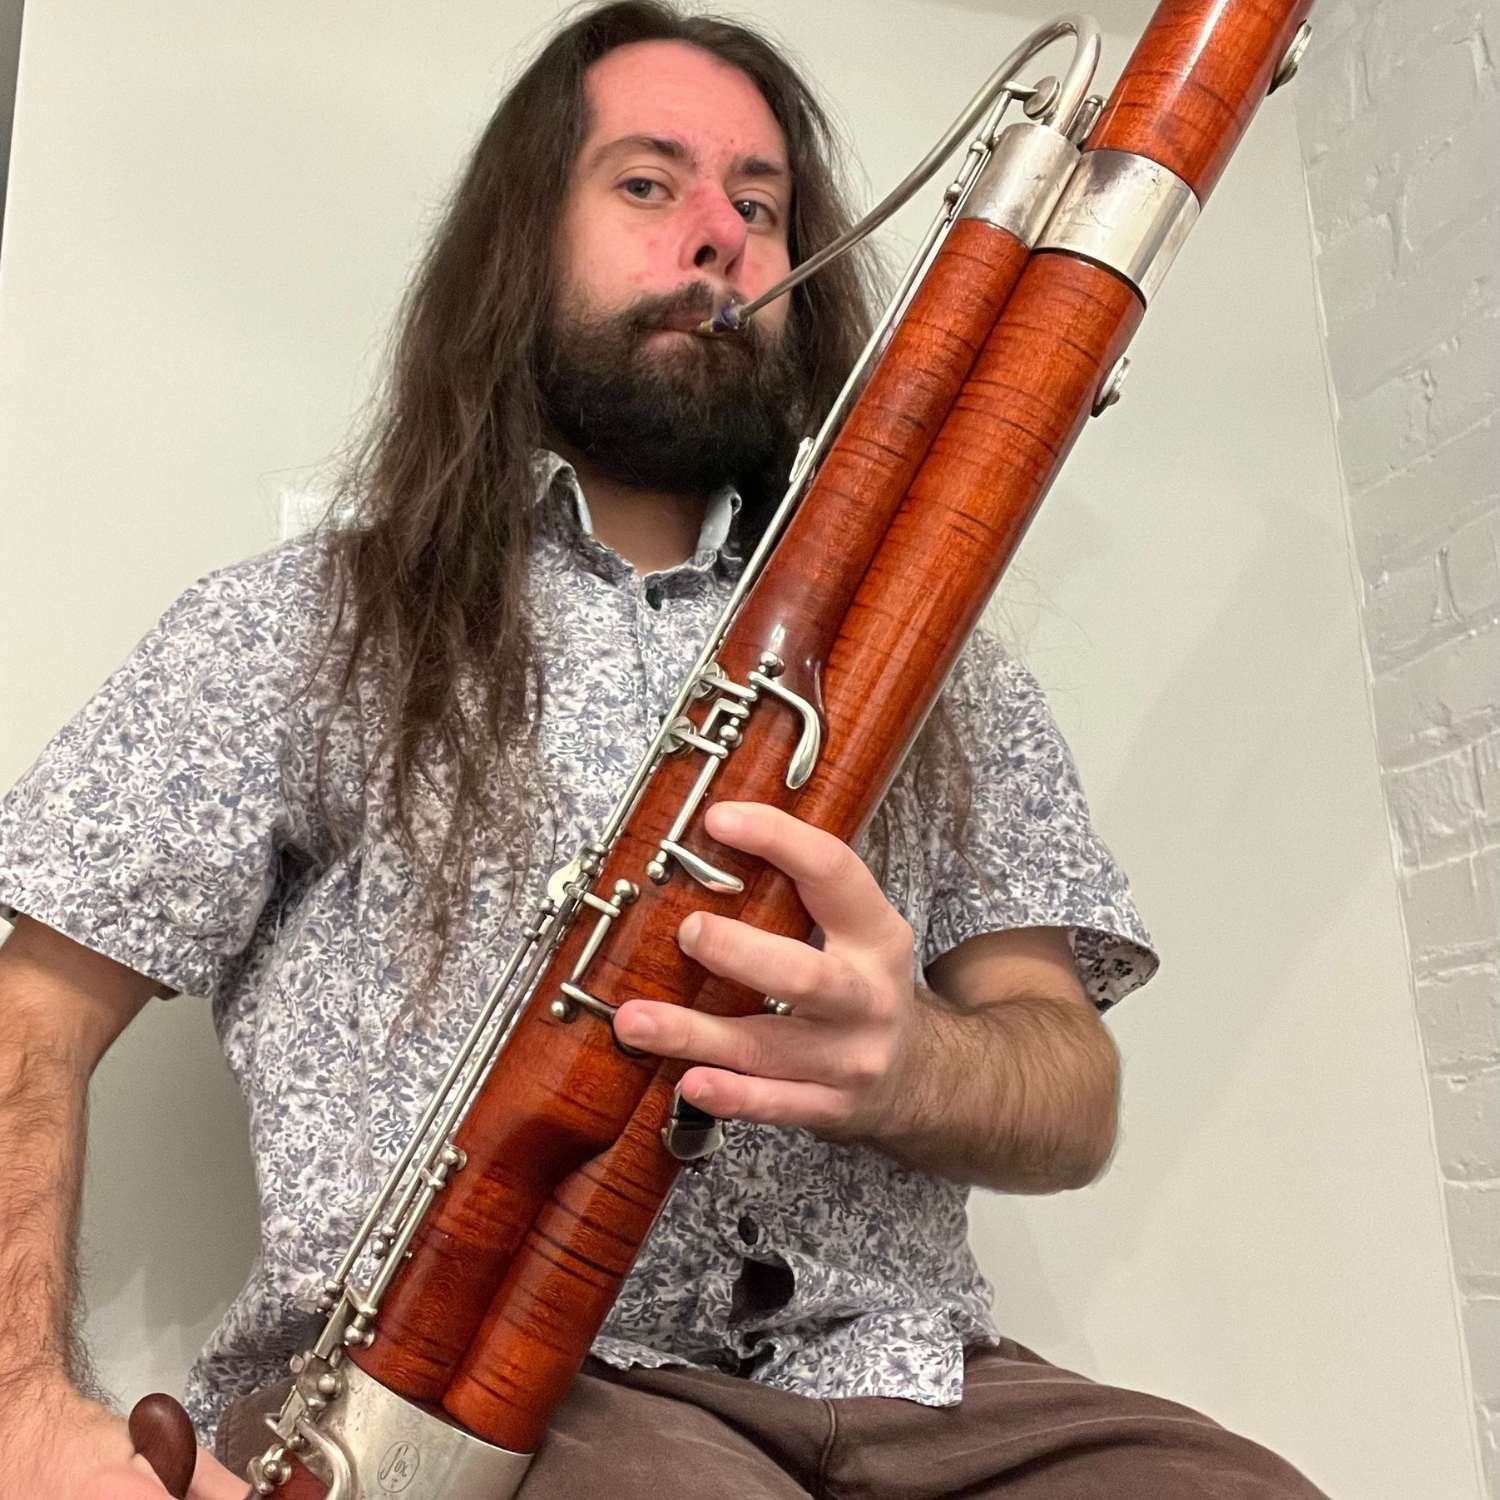
How to Set up a Bassoon
You just decided to become a bassoonist and don’t know where to begin! Fear no more, as bassoonist Zachary Senick will break down the process while providing tips and tricks.
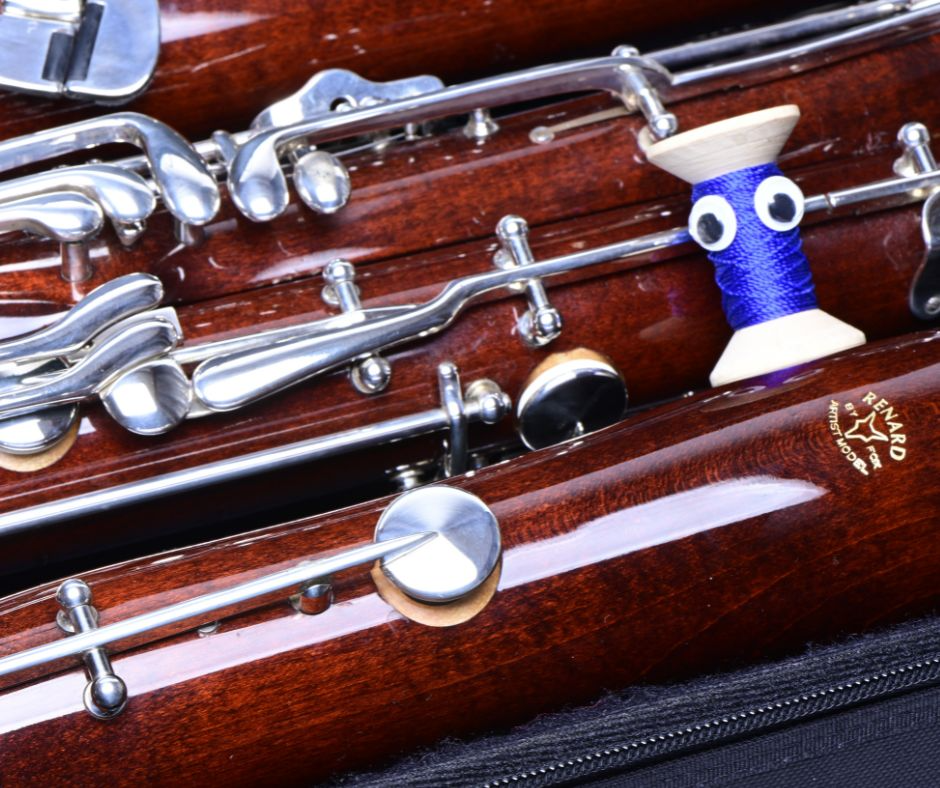
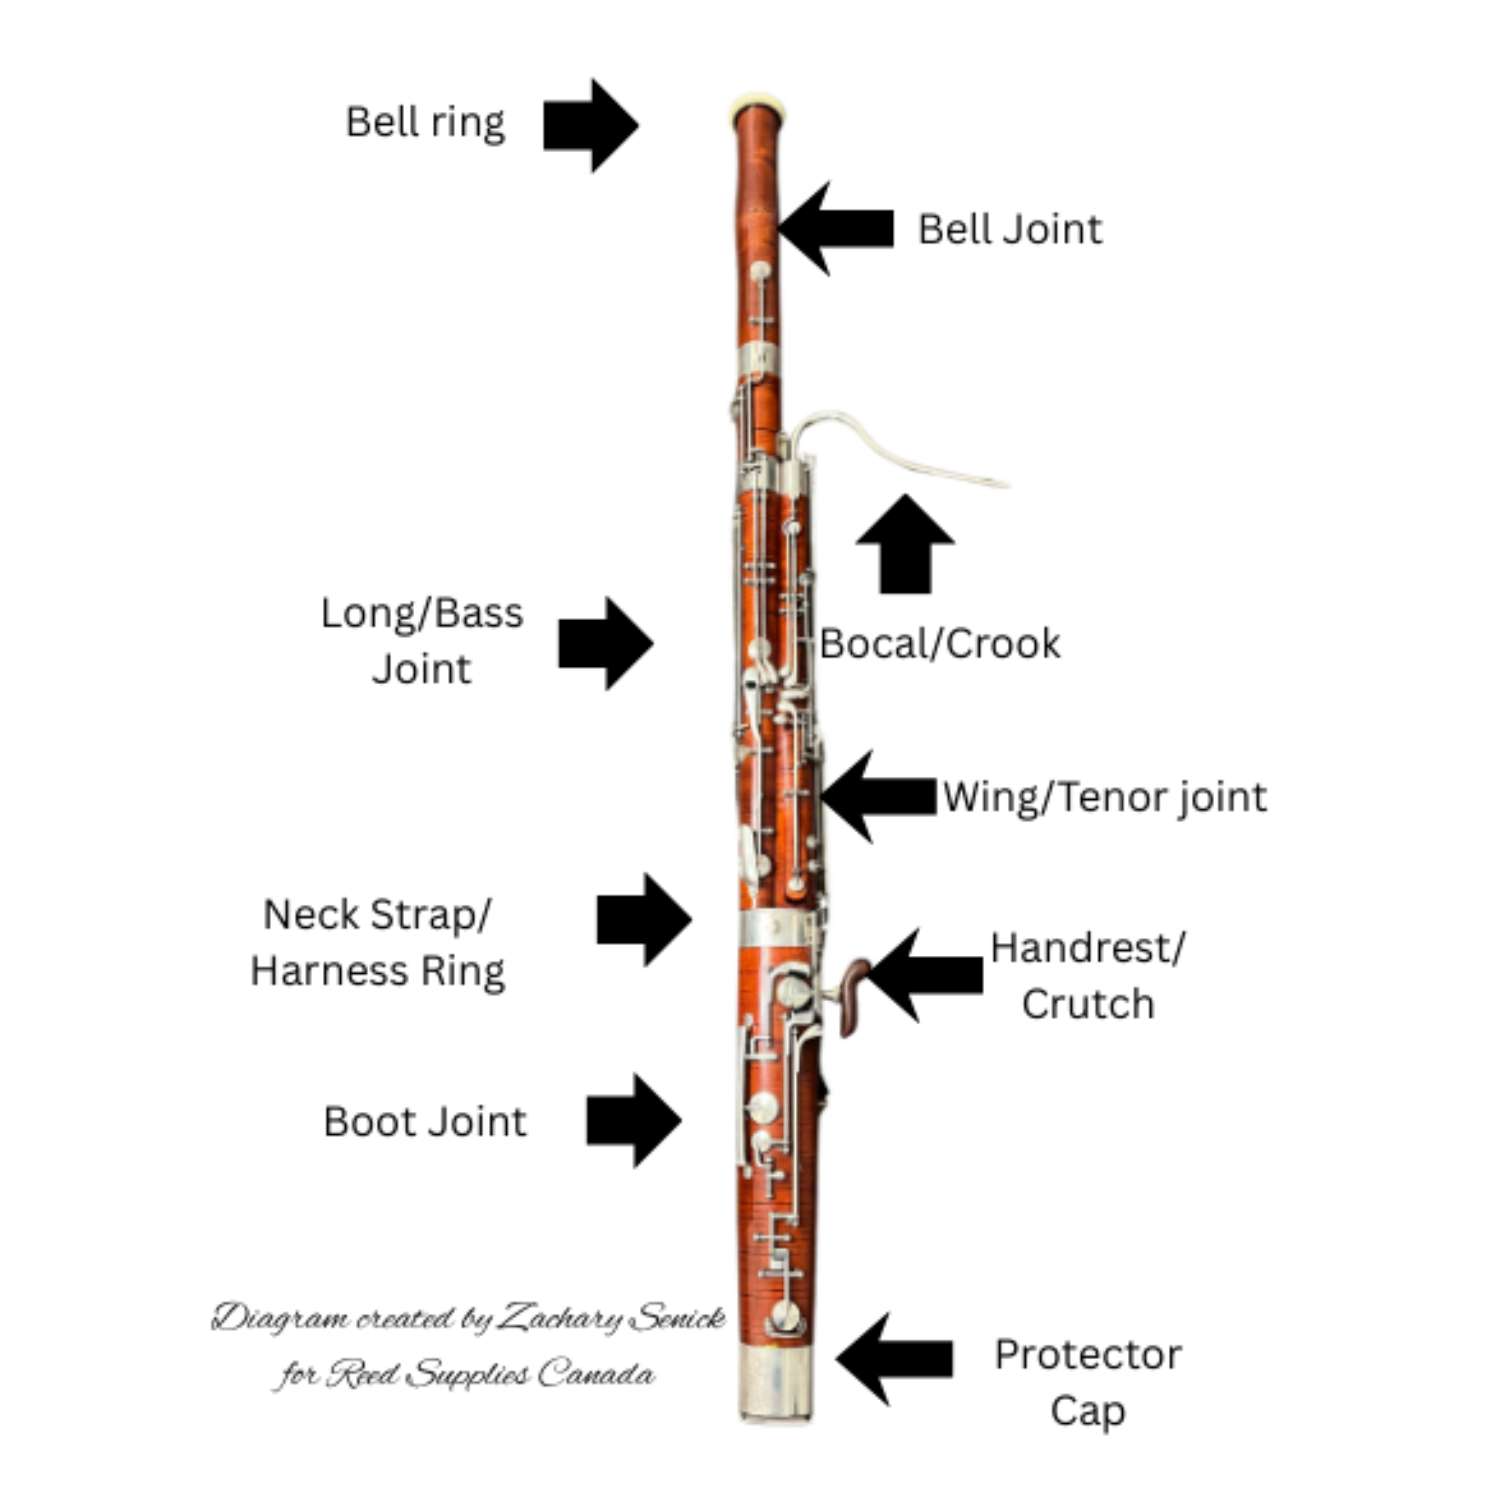
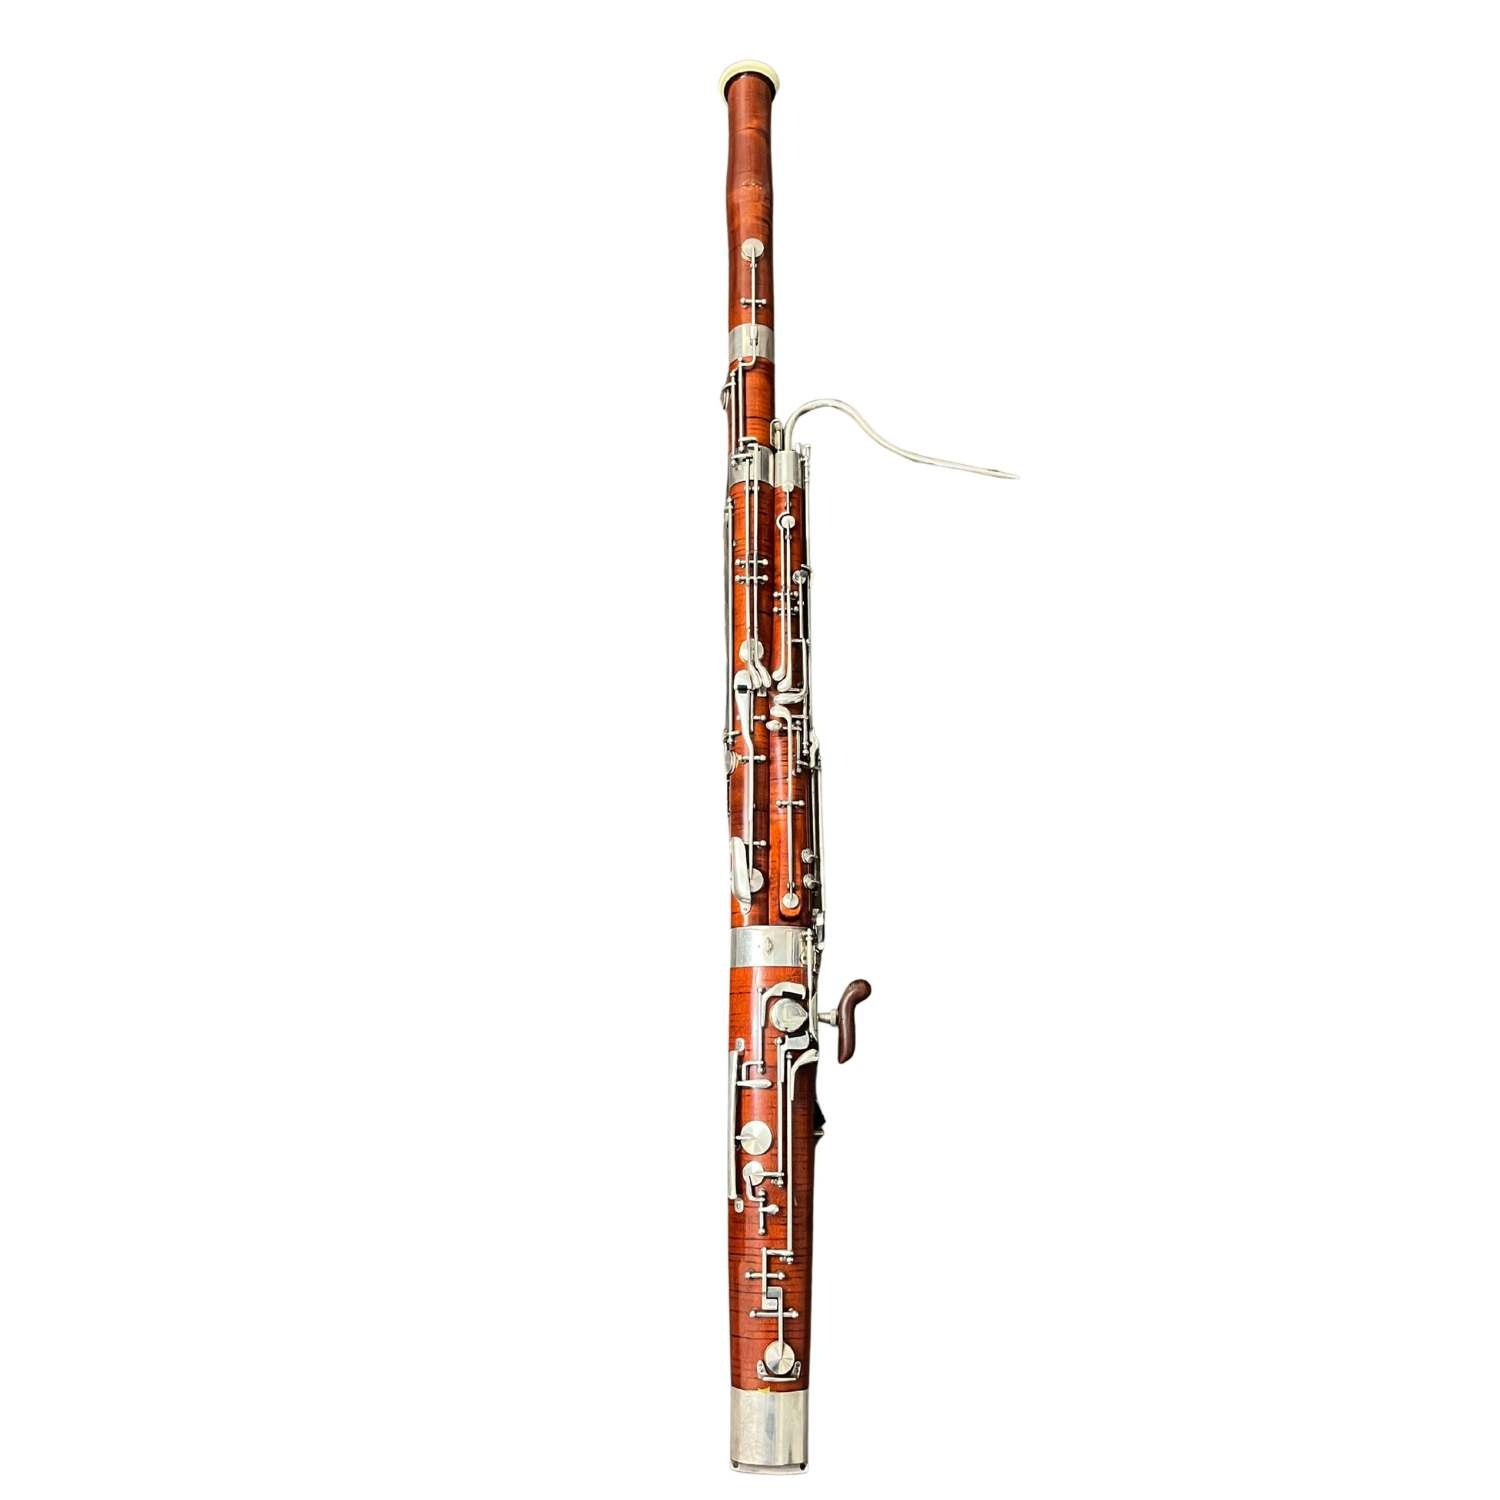
Parts of the Bassoon
The bassoon is divided into five main parts:
- Bocal or crook: This is a conical metal tube shaped like an S that connects the reed to the main body of the instrument. One end is metal, while the other is wrapped in cork to allow it to snugly fit into the instrument. They can be made from a variety of different metals, such as brass, silver, and nickel silver, with each metal producing brighter or darker tones. They also come in different lengths: 1, 2, and 3. The length affects the intonation of the instrument. In general, a 2 bocal is used for playing at A=440 here in North America.
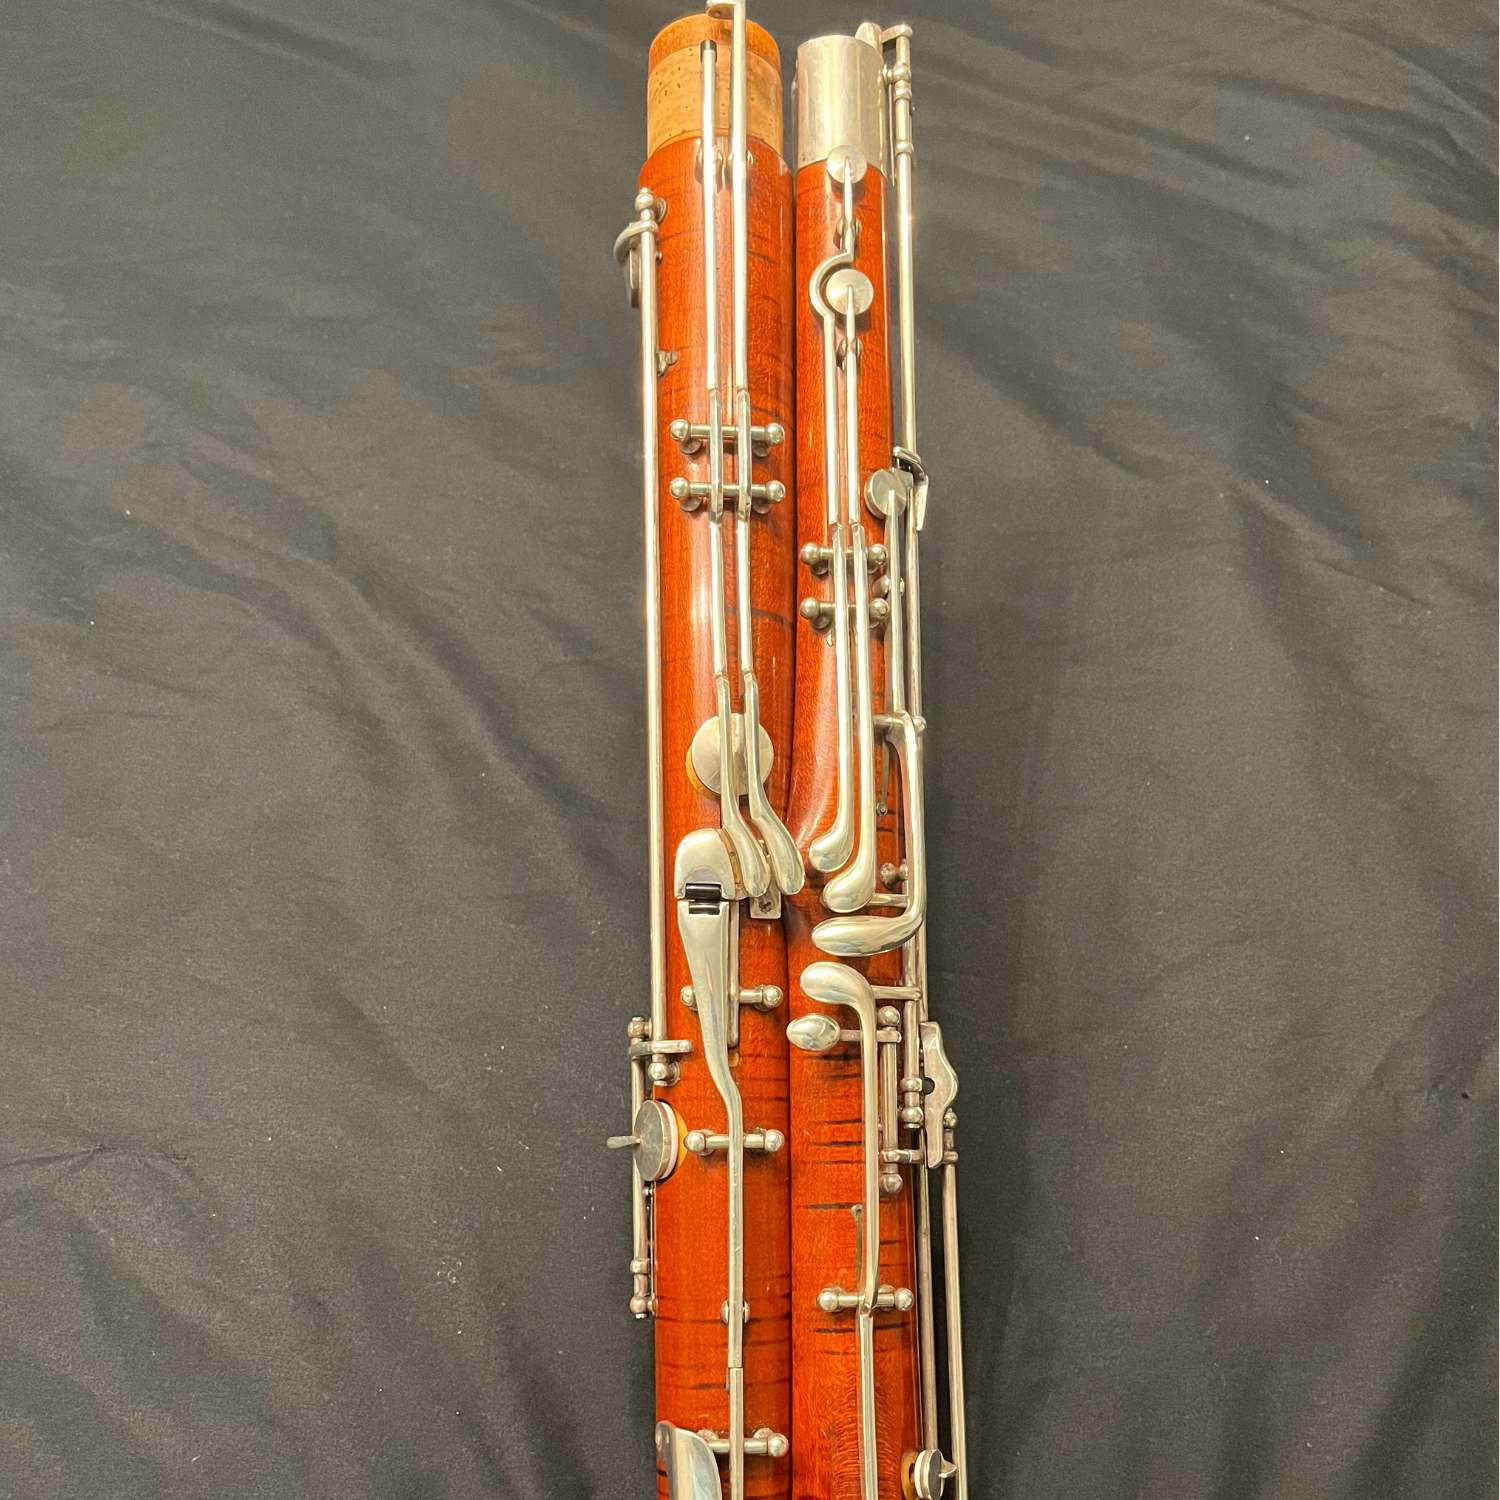
- Wing or tenor joint: This is the shorter joint that the left-hand fingers rest on. It includes holes to cover and thumb keys to press down to change notes. This joint also has the flick keys for the thumb to operate.
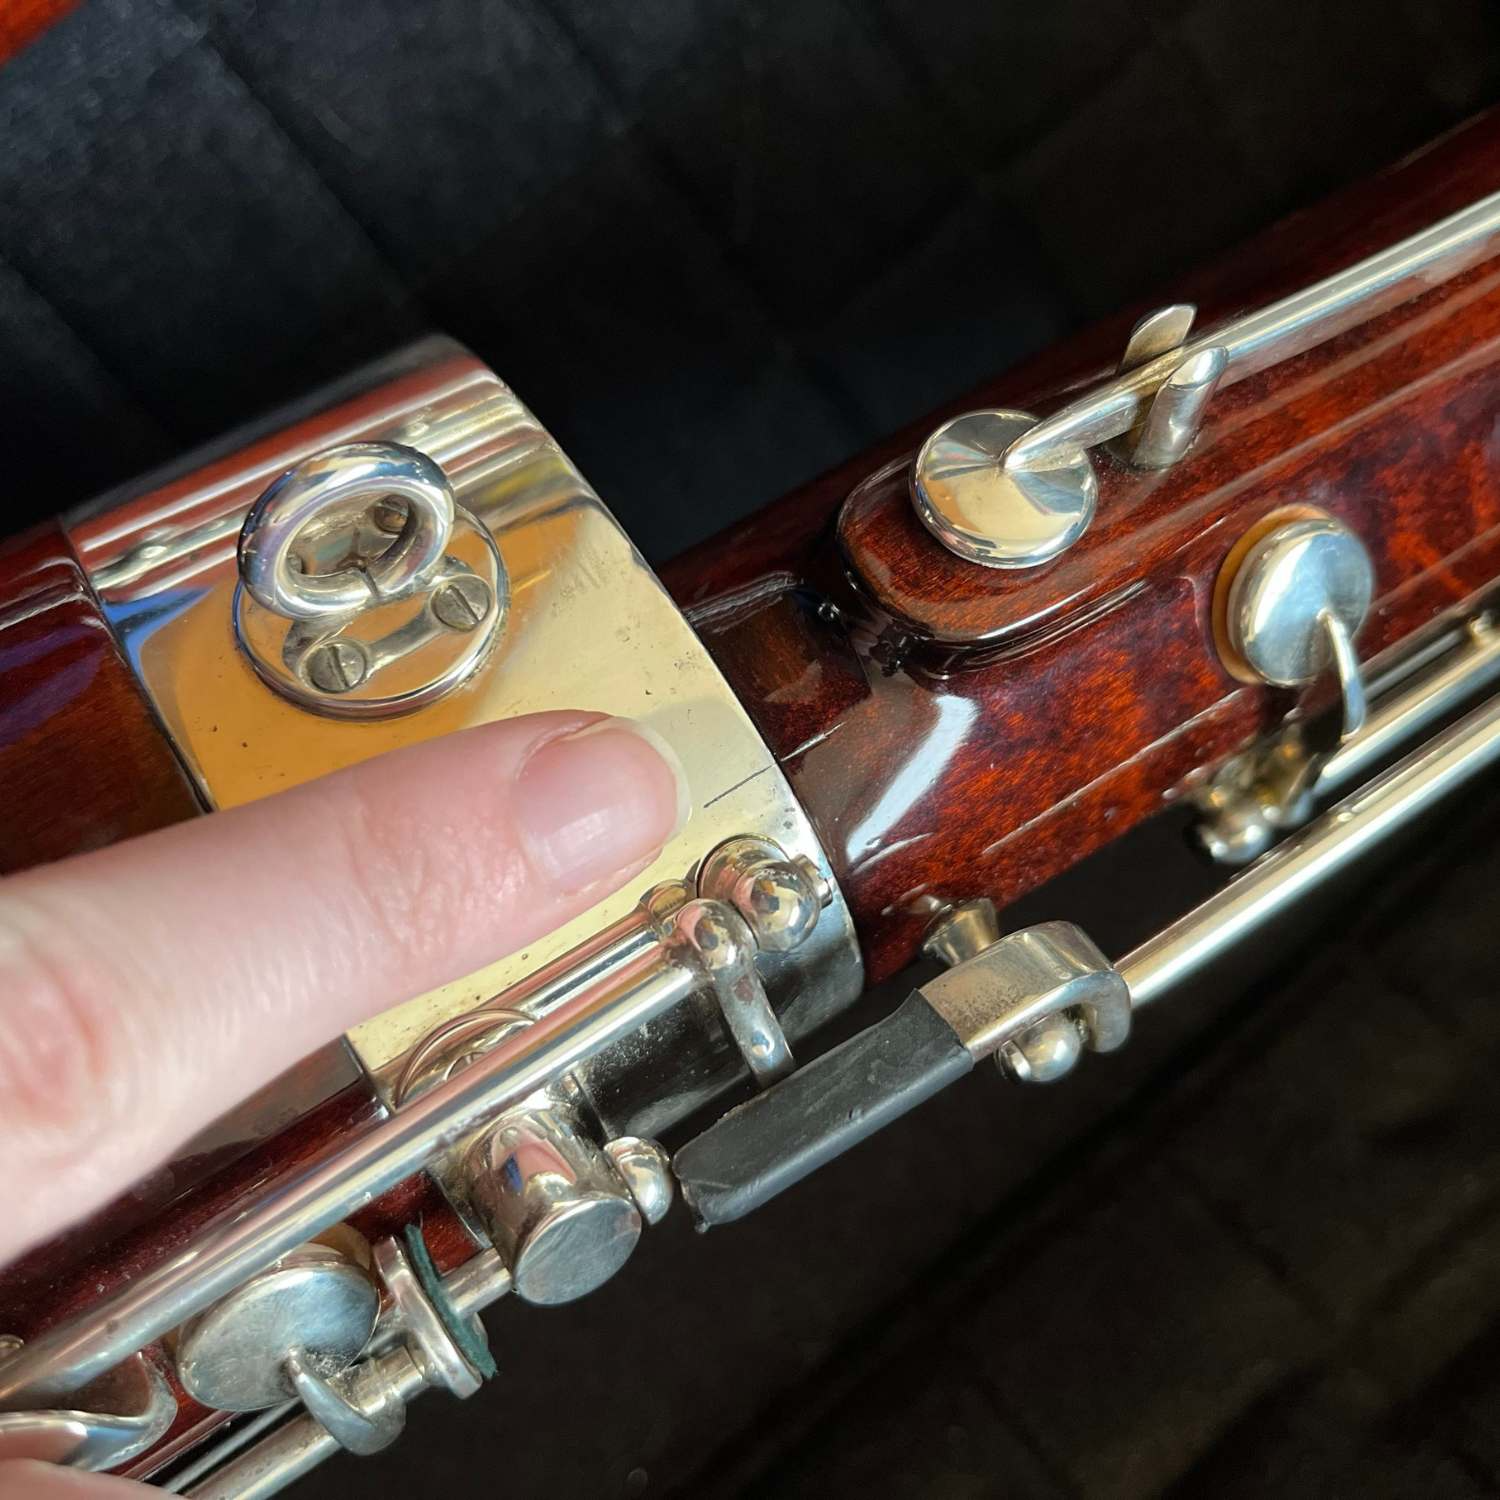
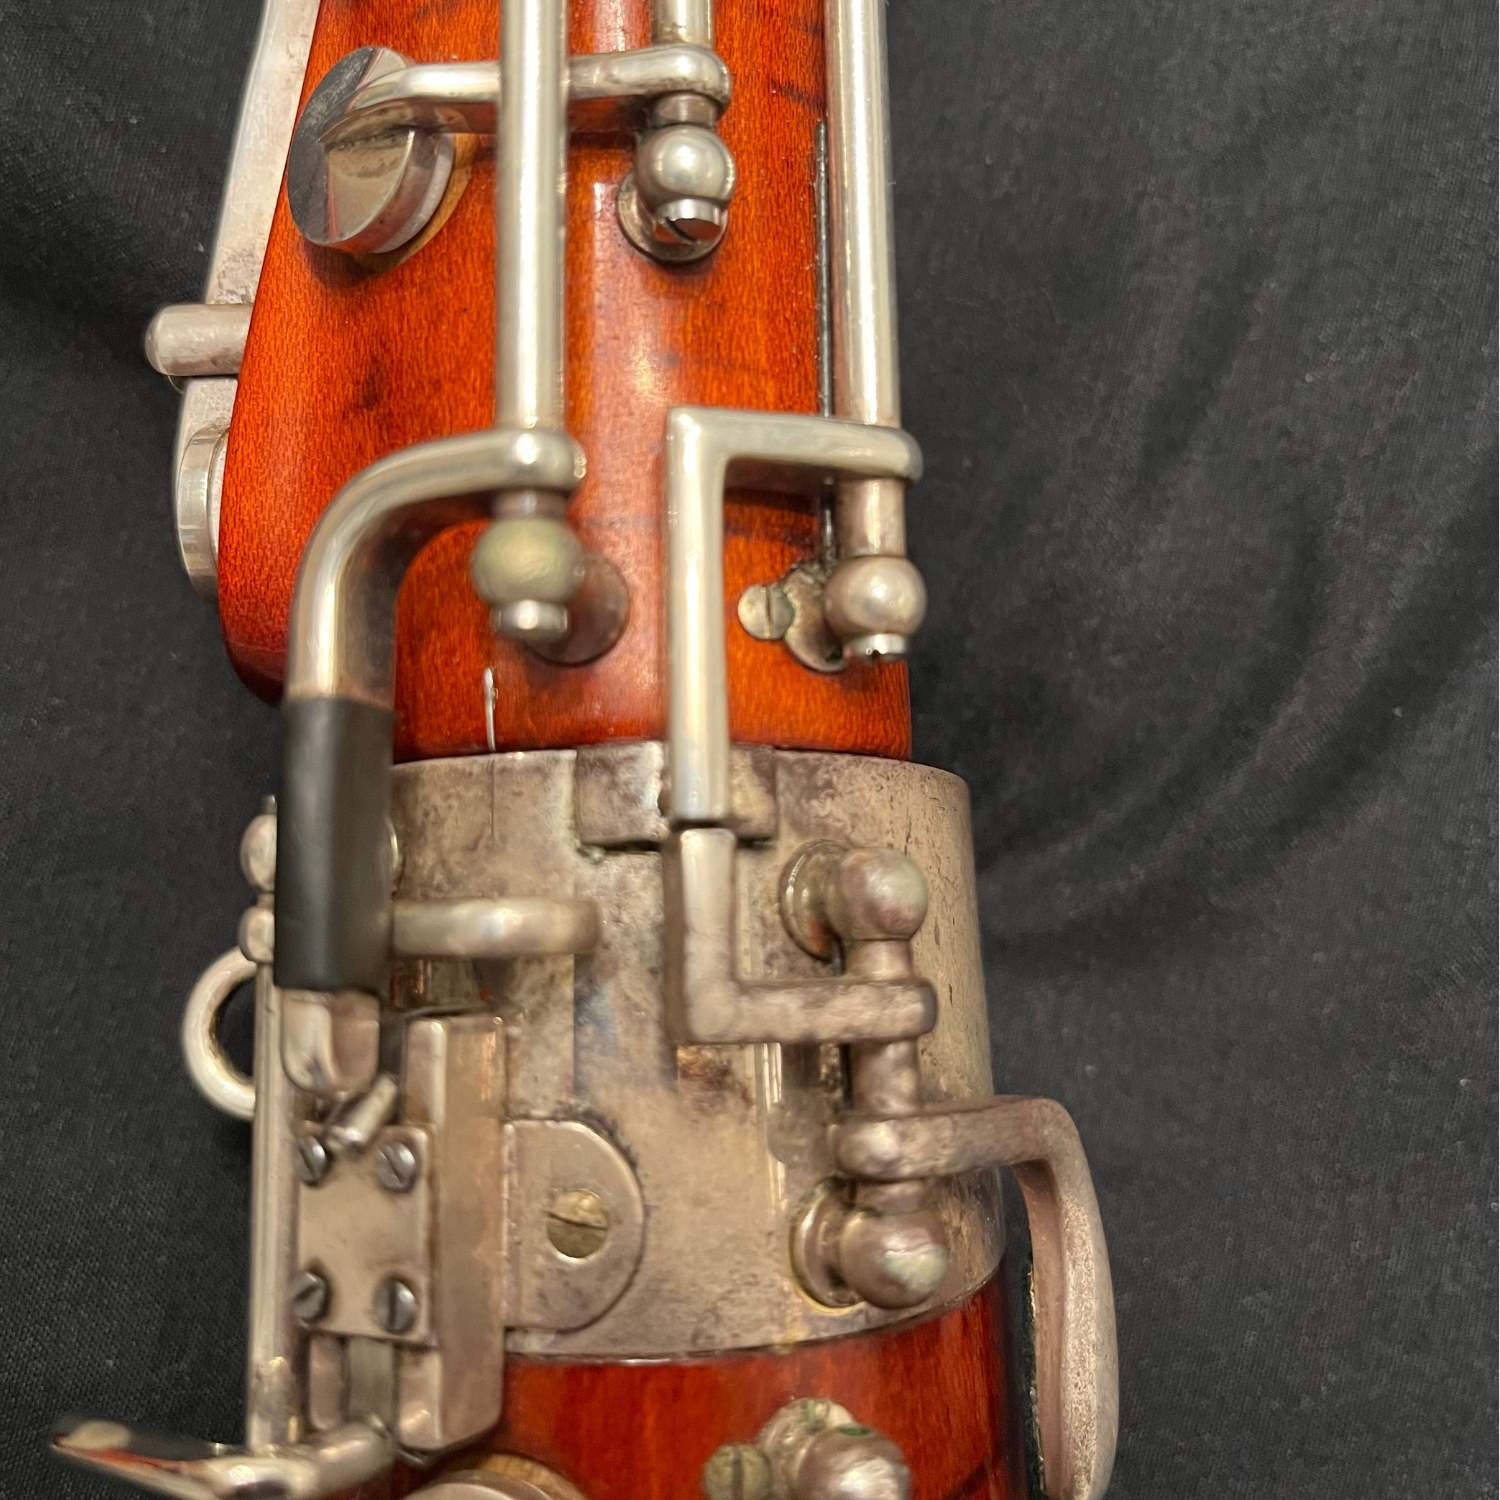
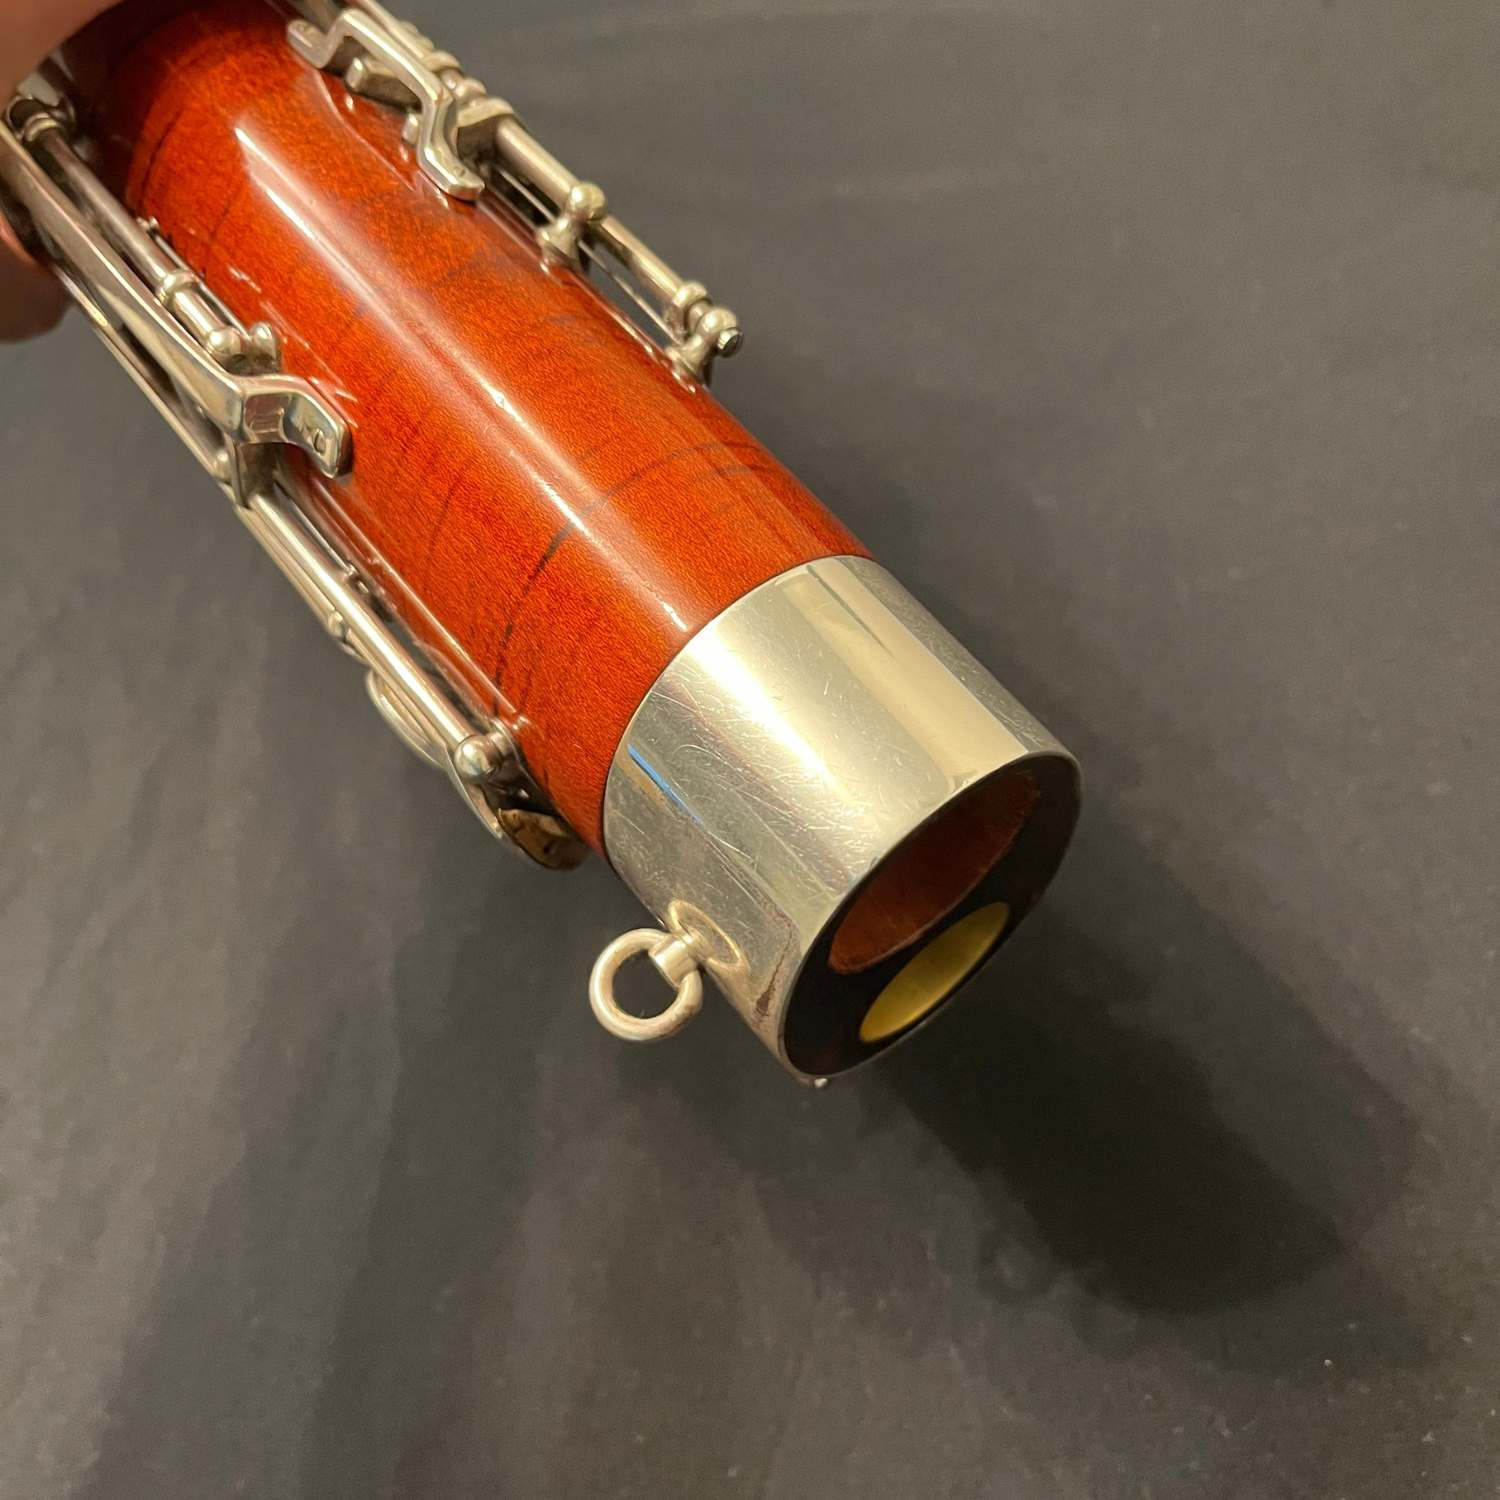
- Boot joint: This is the bottom part of the bassoon that is shaped in a U connecting the two joints together, which allows the conical bore to double back on itself. The right hand rests on this joint to cover the holes and press the keys. It also has a metal protector cap to keep the bassoon from being damaged by any bumps or being placed on the floor. Underneath this cap is commonly where you can find the serial number of your instrument.
- Bass or long joint: This is the longer joint that the left-hand thumb operates the low note keys.
- Bell: This is the very top part of the bassoon that provides resonance and amplification for the instrument. Traditionally, this had an ivory ring on the end, which has now been replaced with plastic or metal.
How to Assemble the Bassoon
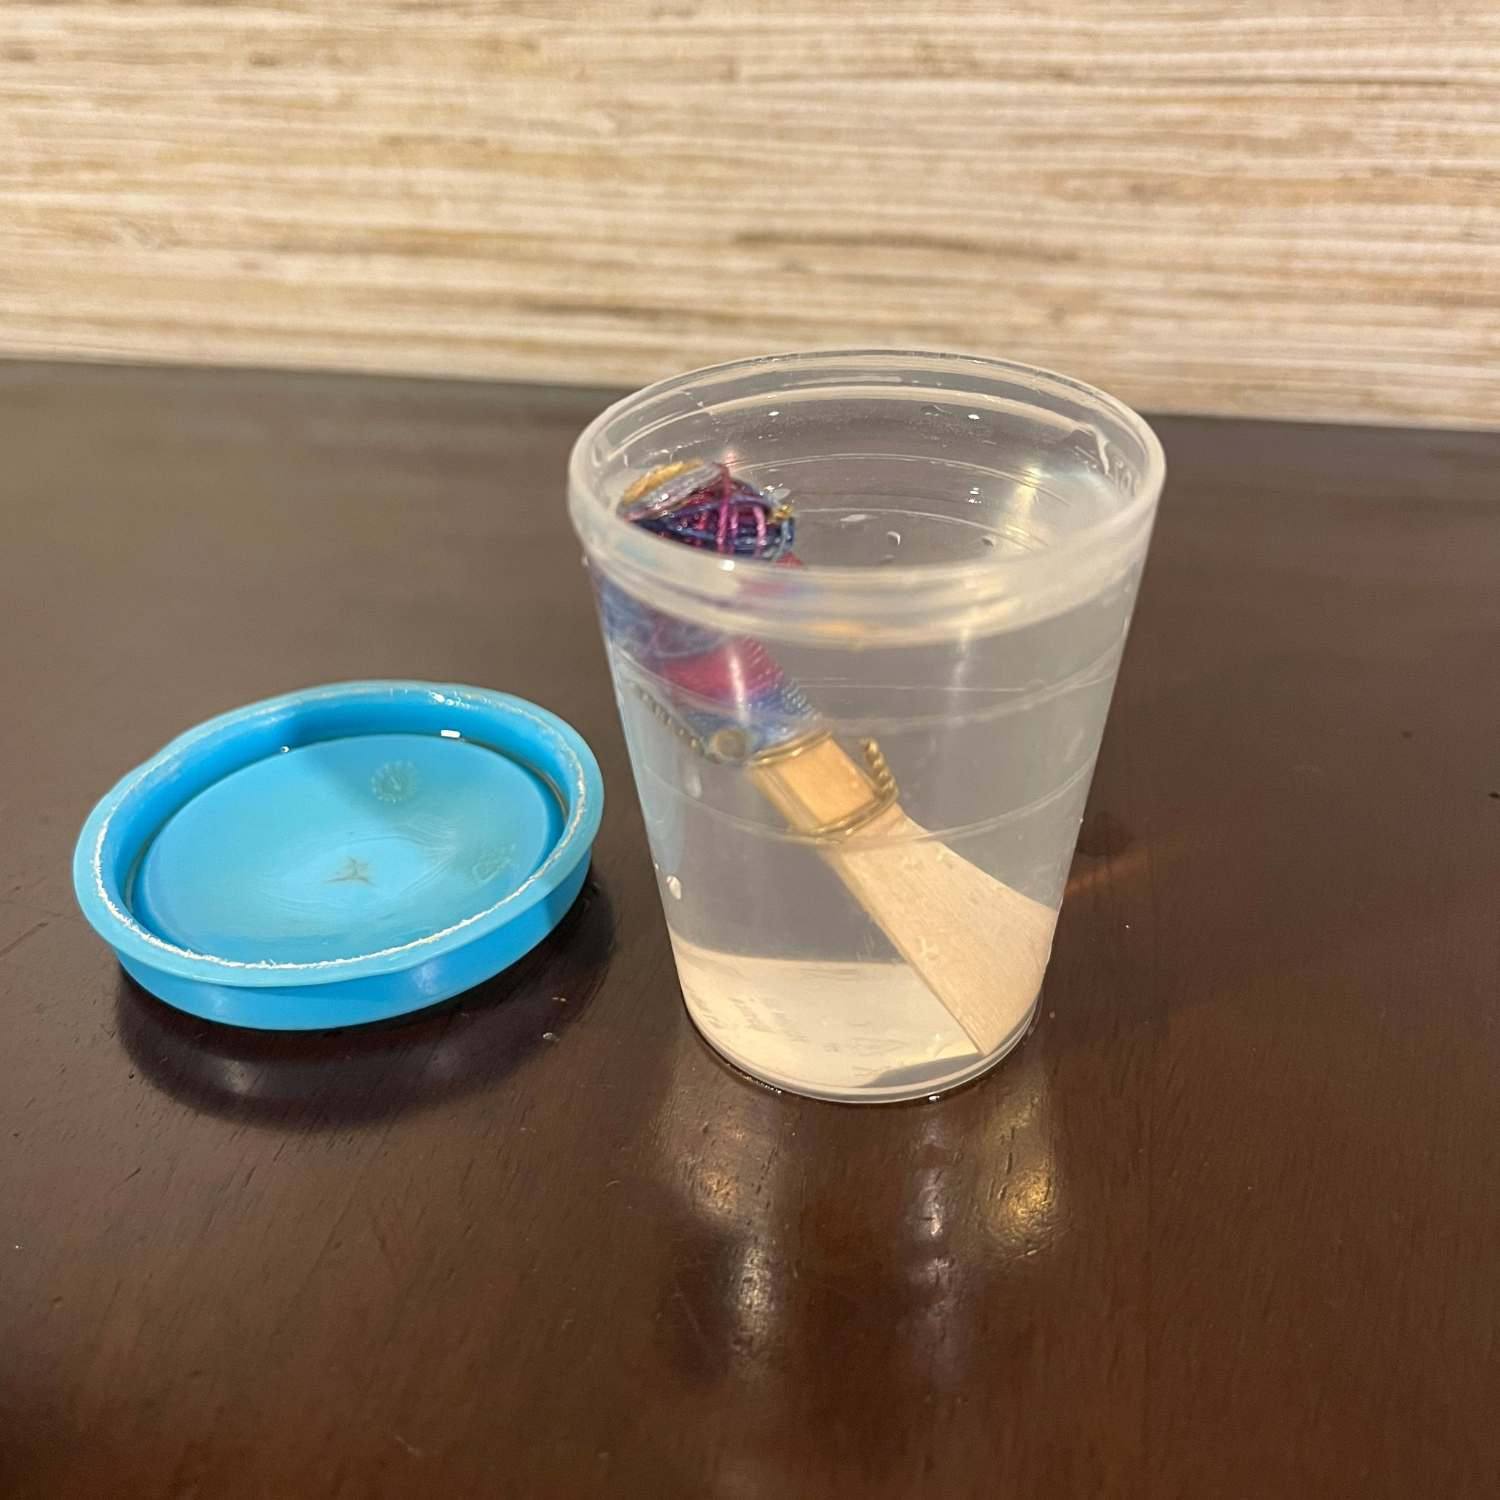
1. Place a reed fully submerged in a cup or small container of water to soak for a couple of minutes.
2. Make sure all cork tenons are lubricated with cork grease, but NOT the thread-wrapped tenons, in order to allow easy assembly and disassembly. For more information on how to take care of cork and thread tenons, check out How to Clean and Maintain Your Bassoon.

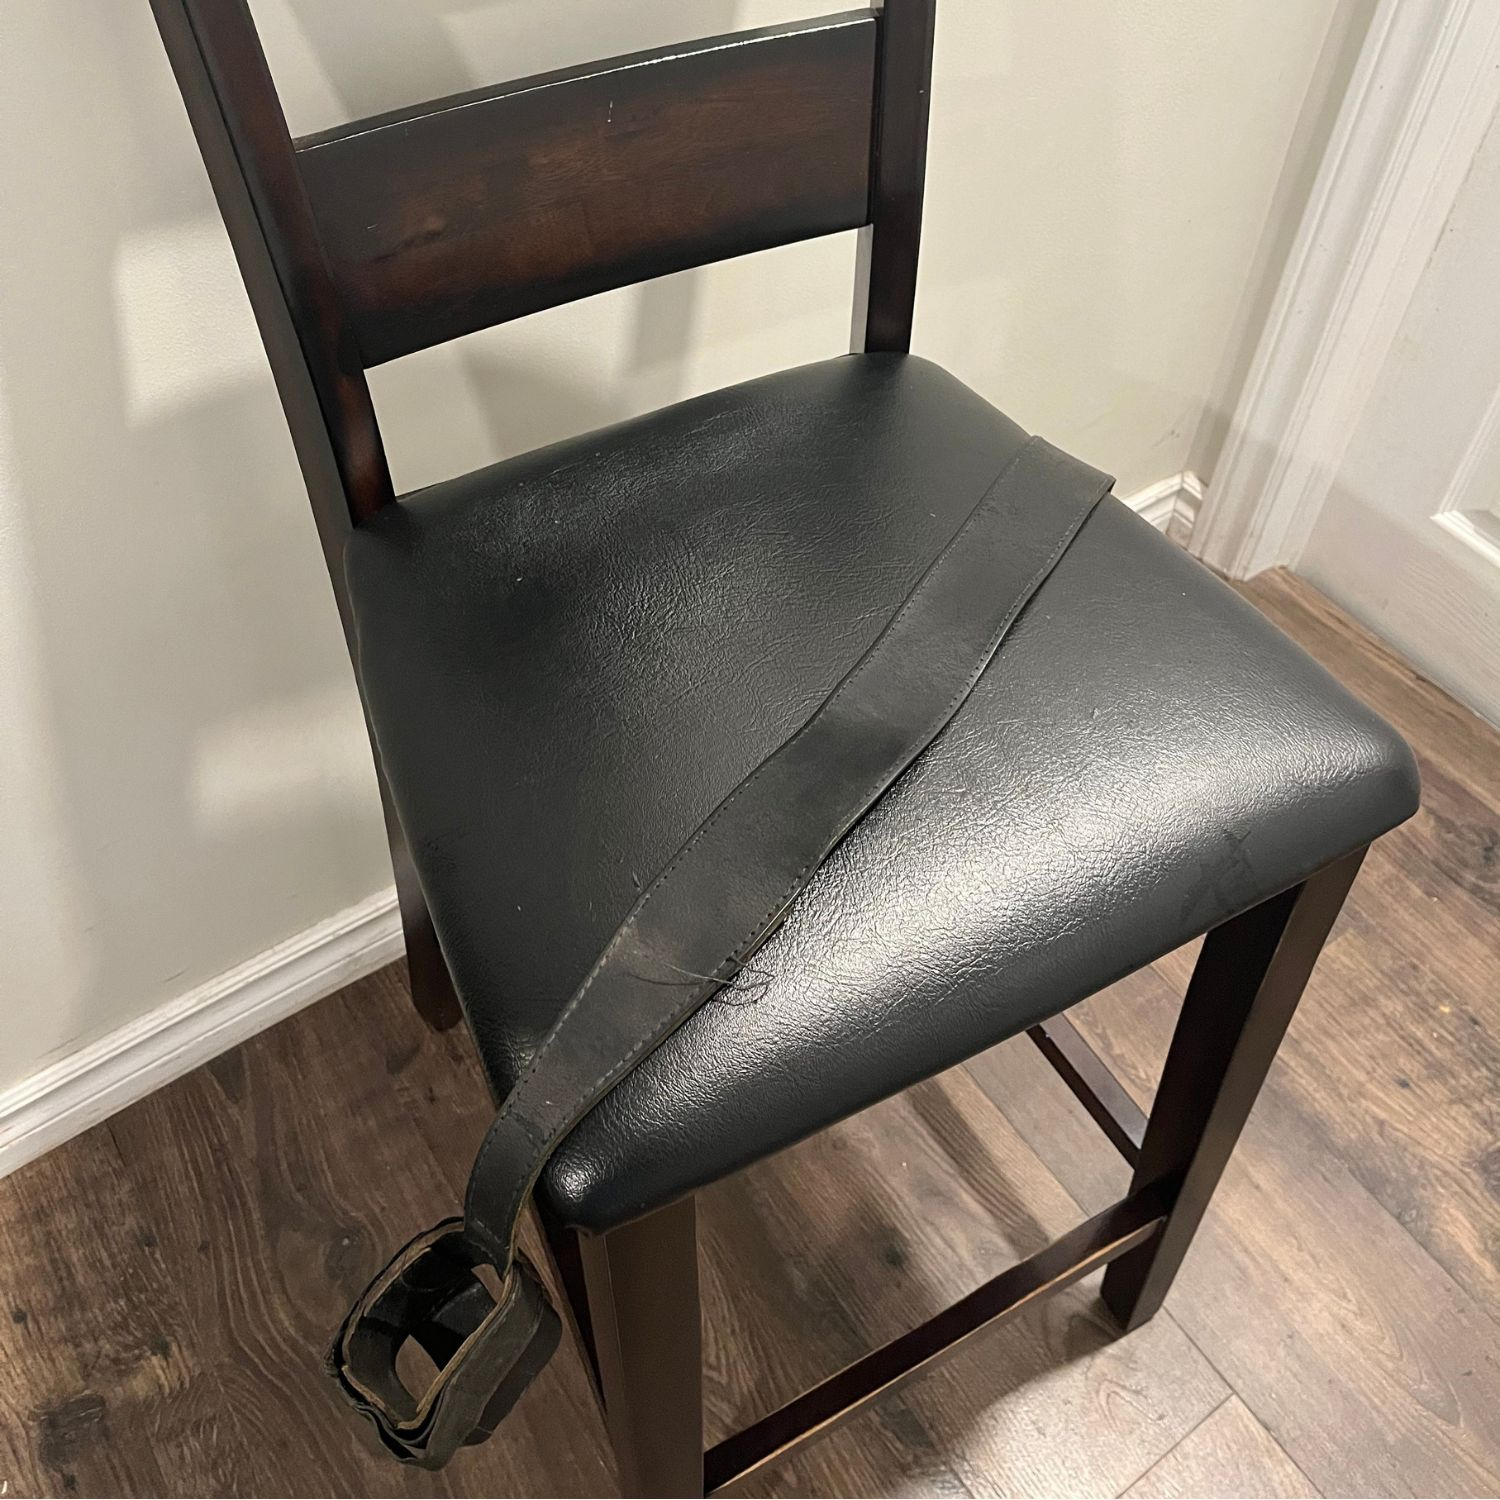
3. Take the seat strap or neck strap and position it on the chair or onto your body.
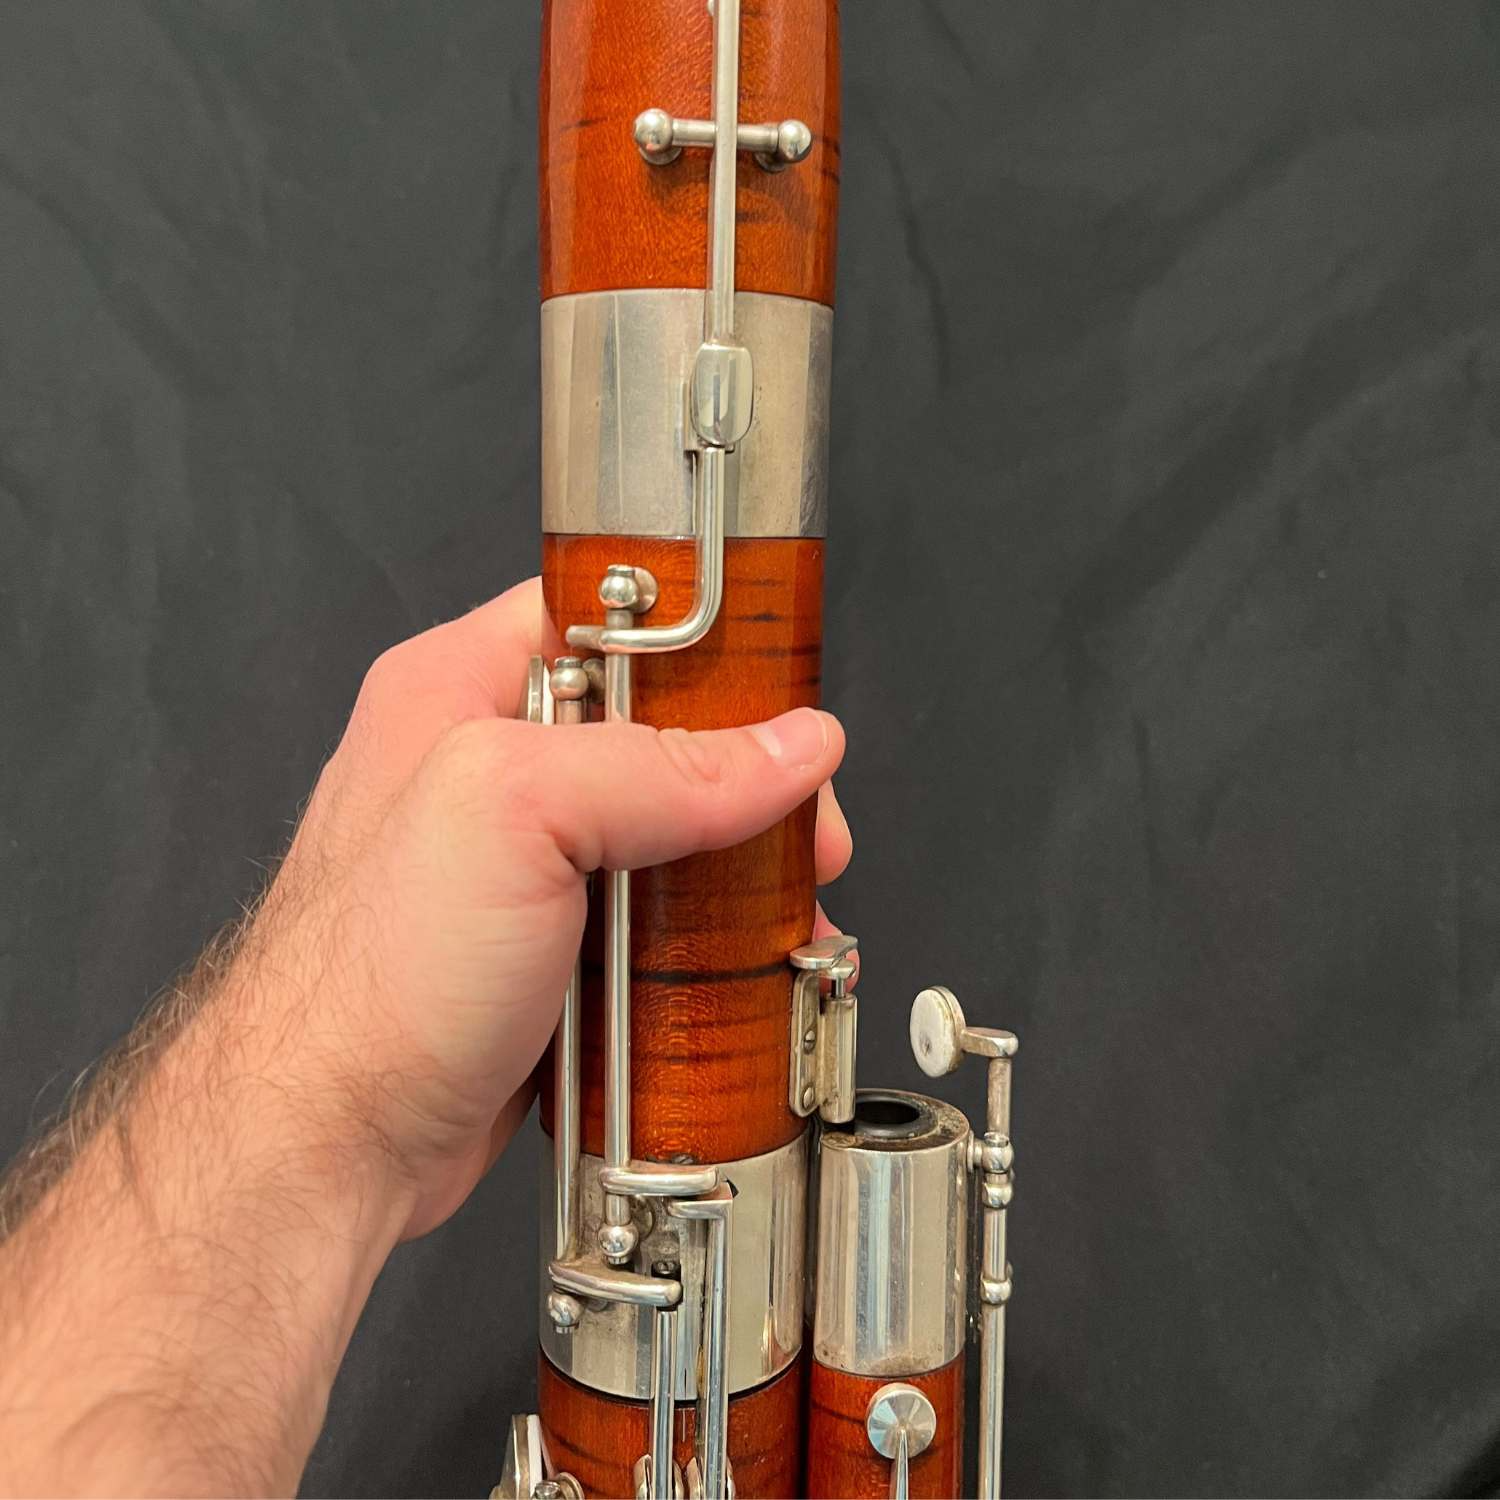
4. Put the wing joint into the metal side of the boot joint while holding it beneath the cluster of keys using a slight twisting motion. Next, line up the curved portion of the wing joint with the other hole. Some bassoons will have a mark etched into both joints to make this alignment easier.
Be careful to make sure the bridge key (if your instrument has one) is lined up properly to allow the instrument to have a proper seal.
5. Place the long joint into the wooden side of the boot joint using a gentle pushing motion, while lining it up with the curved portion of the wing joint.
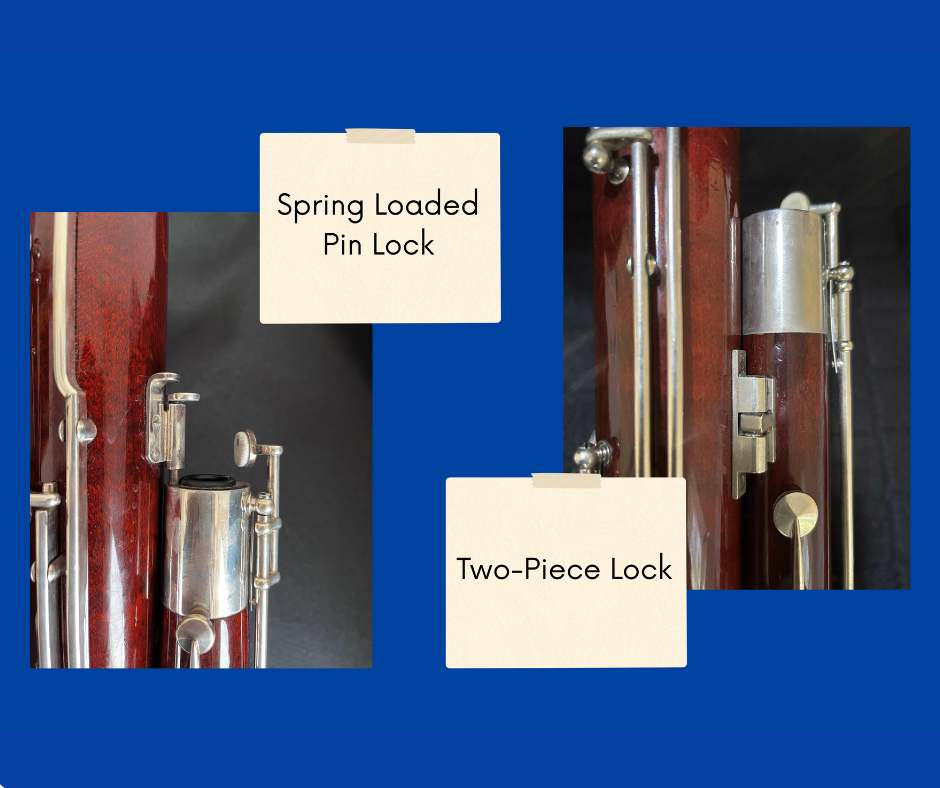
6. If applicable, engage the locking mechanism (found around the top of the wing joint) to ensure both joints are locked together.
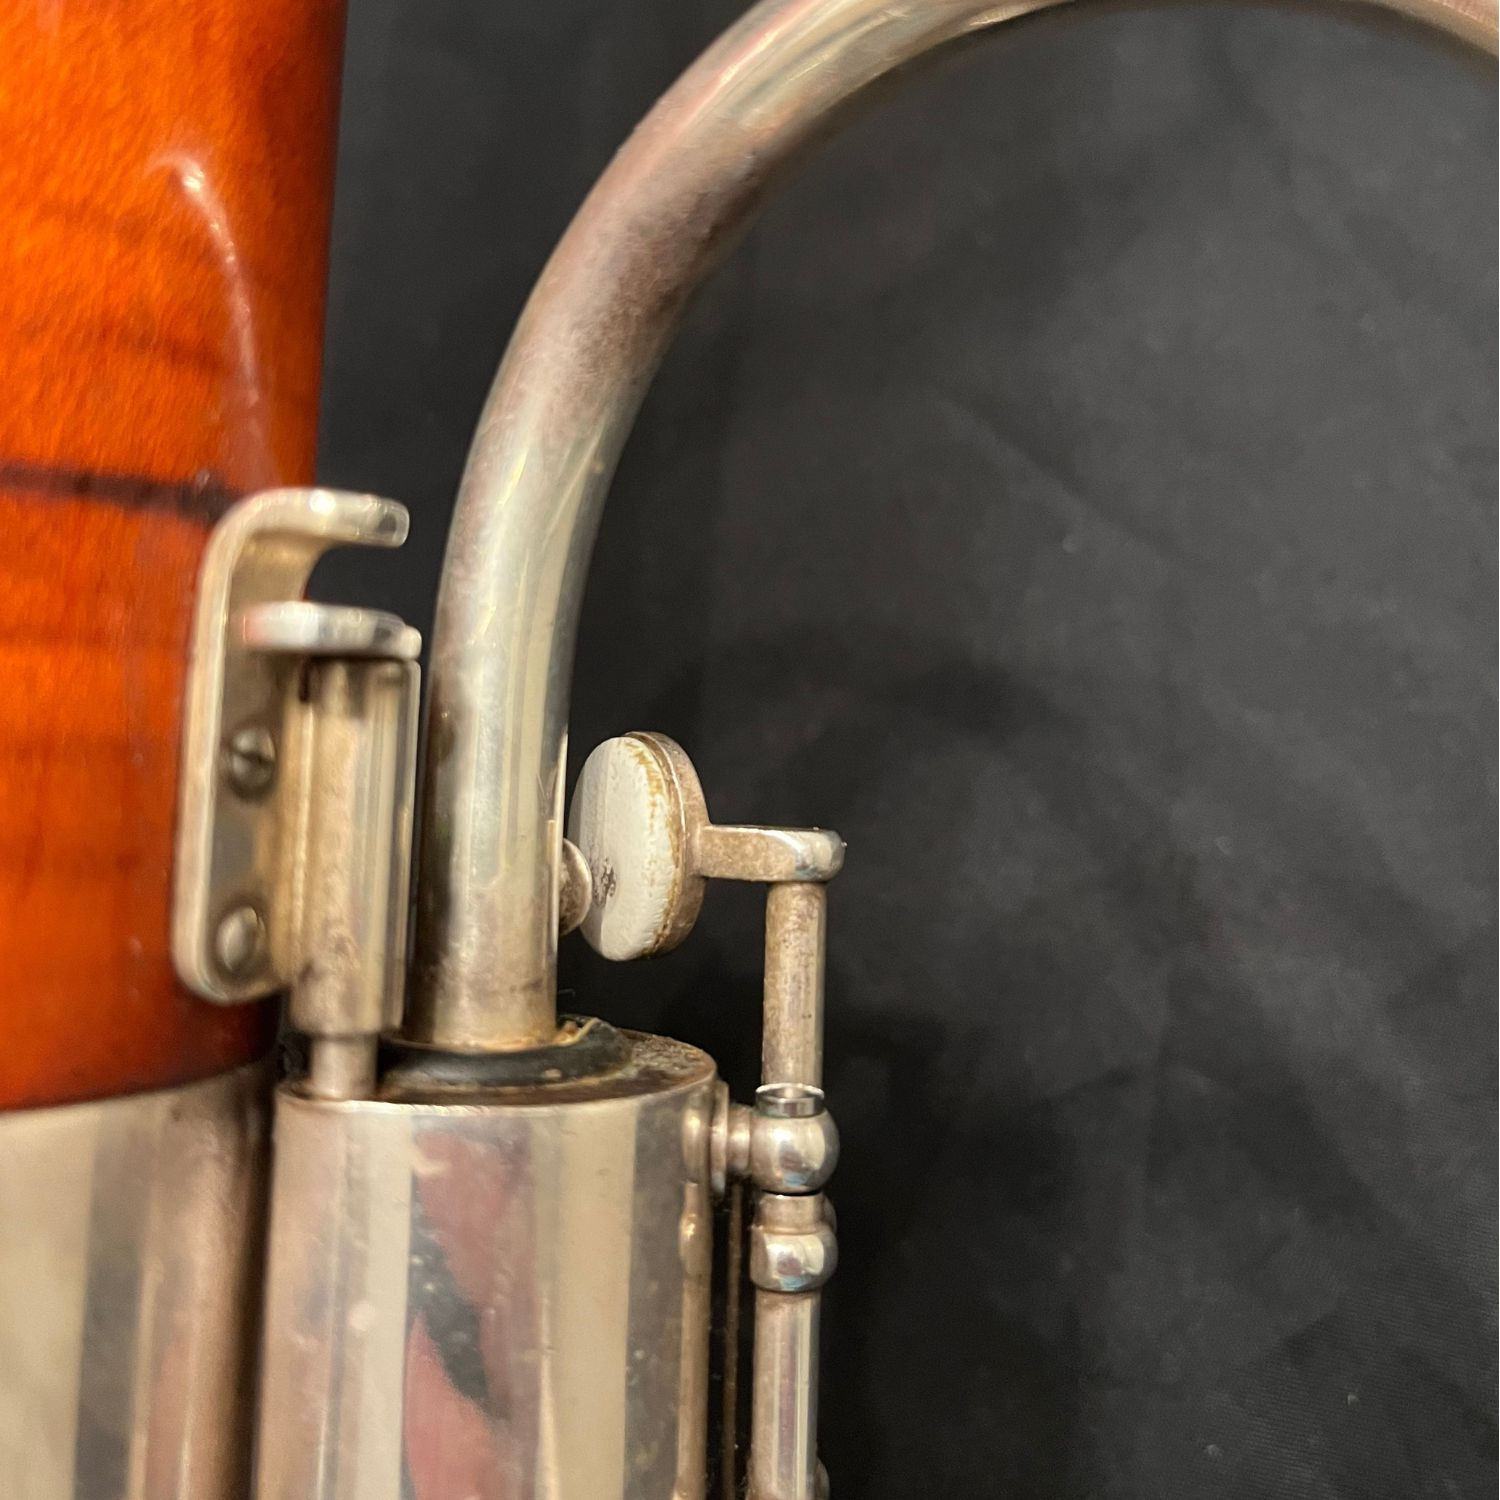
7. Hold the bell with the thumb pressing the key to raise the keywork mechanism and put it on the long joint to line up the two parts of the bridge key.
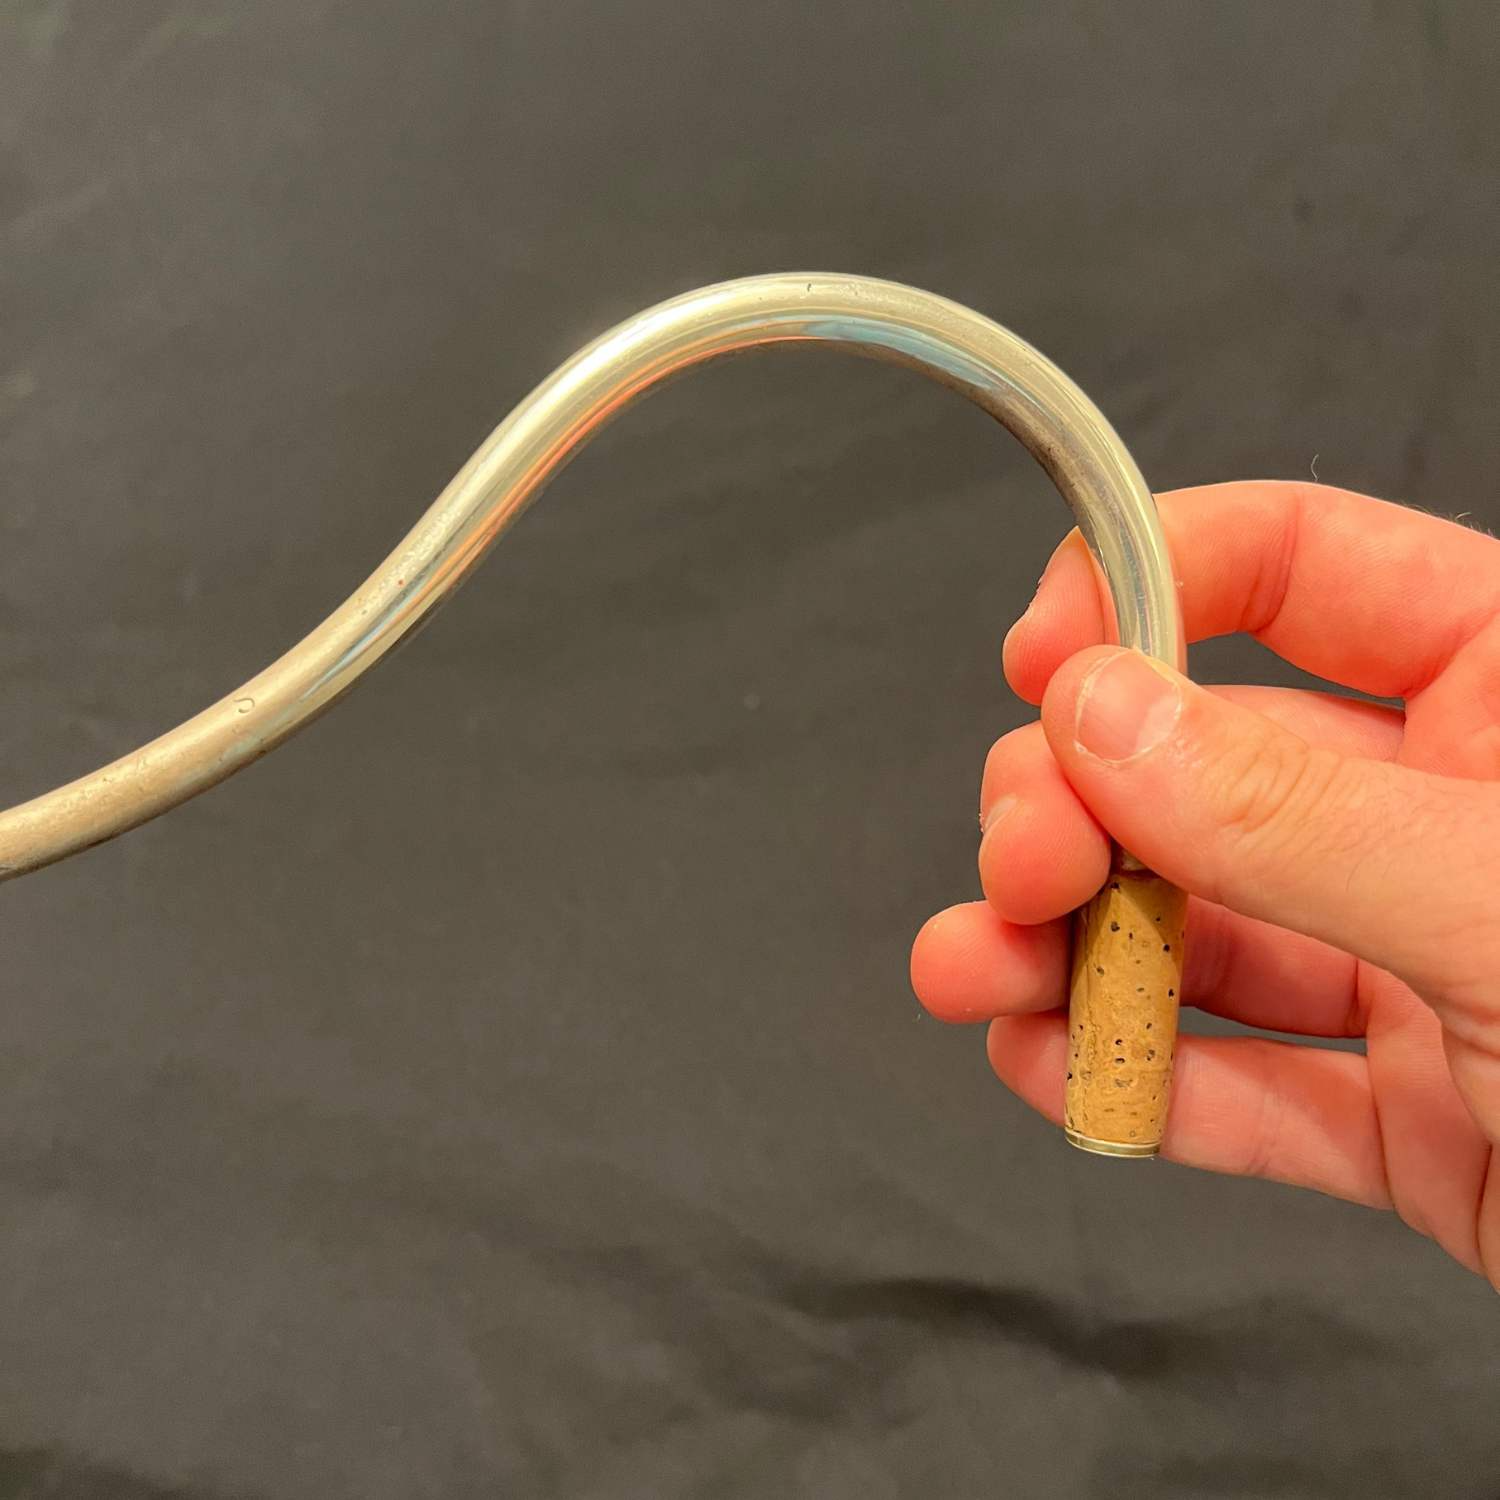
8. When placing the bocal in the socket make sure to hold the bocal on the cork by the hook near the vent hole to push it into place. Never hold it by the curve, as it can be bent out of shape due to any force or pressure.
Adjust the bocal so the pad of the whisper key covers the small hole on the bocal.
9. Put the reed firmly in place so that the blades are parallel with your teeth.
What is a Gentlemen’s Cut Bassoon?

The proportion of the joints of the bassoon can be slightly different depending on the model and cut of the bassoon. This has resulted in a very common set of proportions called the Gentlemen Cut that consists of a shorter bass joint and a longer bell. The name derives from it fitting in a smaller case that resembles a briefcase. Hence, looking like a business or gentleman carrying a briefcase to work.
How to Properly Handle a Bassoon
1. Never lie the bassoon across your lap or on the floor/table because the water will run out of the U-tube and across the unlined side (long joint), damaging the wood inside.
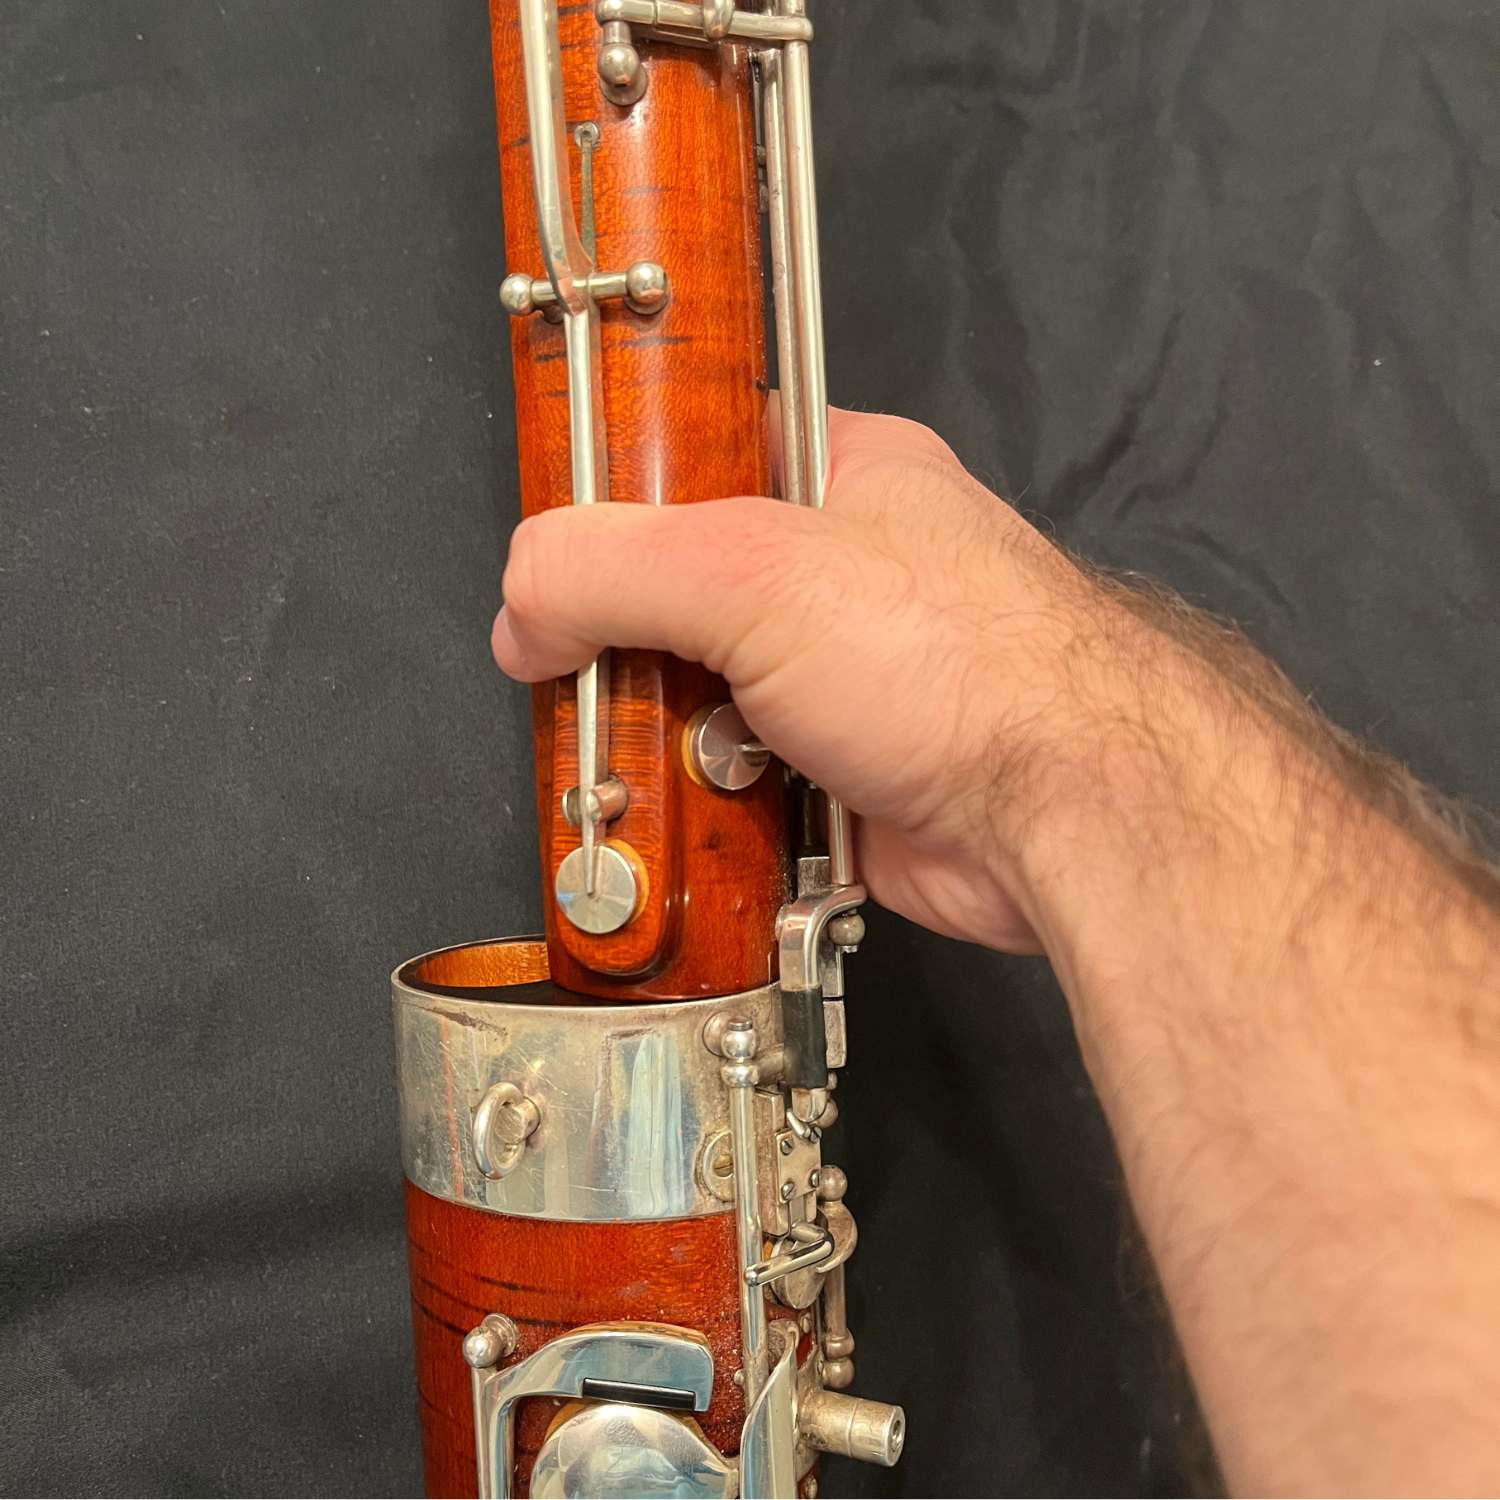
2. Never hold it by the bell because the joints can come apart causing it to fall to the ground. Instead, hold the bassoon by having one hand on the boot and the other hand on the long joint to make sure it is fully secure.
3. Minimise pressure on the bocal when putting it into the bassoon (don’t hold by the bend as it can snap or cave in on itself).
How to Disassemble a Bassoon
1. Take the reed off the bocal and suck out any spit or gunk that has accumulated inside it. Then store the reed in a reed case. Make sure the case is ventilated or leave it open for a while to allow the reed to dry out. This is to avoid the reed becoming moldy. Never store the reed in the plastic vial they are sold in because there is no ventilation. This will result in allowing mold to grow easily.
2. Remove the bocal from the wing joint. Remember to hold it near the cork end to avoid snapping the bend of the bocal. Then blow out the bocal or clean with a bocal swab.
3. Remove the wing joint and swab it before placing it in the case.
4. Remove the bell and long joint and place it into the case. These parts do not need to be swabbed because none of the spit or moisture makes its way into them.
5. Dump the spit or moisture out of the boot of the bassoon through the metal side. Then swab the boot joint before placing it in the case.
See How to Clean and Maintain Your Bassoon for a more detailed description of the cleaning process.
Help! My Bassoon is Stuck Together
Don’t panic and try to aggressively twist and yank it apart because this could cause the bassoon to crack. Set the bassoon down and come back later in a couple of hours. The instrument will shrink as it sits because there is no longer warm air being blown into it, which causes the wood to expand. At this point, the bassoon should easily come apart. Remember to add cork grease on cork joints the next time you set it up to avoid it getting stuck together. If the bassoon still does not come apart then it will need to be taken to a repair person to carefully dislodge the stuck joint.
Conclusion
Hopefully, this guide helps you safely assemble and disassemble your bassoon like a pro! See our Bassoon Care and Maintenance article for more information on how to best care for your bassoon in between playing.