
Troubleshooting Tips for Oboe Reeds
So you just purchased a new reed, but it’s not working the way you expected? Reeds are a complex and personal topic, and this can feel daunting to beginners. In this guide, oboist Anna Betuzzi will walk you through some troubleshooting tips, so you can save time and alleviate frustration while you are in the process of finding reeds that work for you.
Keep an open mind
Reeds are incredibly personal by nature. Each oboe player has a unique instrument, facial structure, experience level, playing requirements, and personal preferences. This means that a ‘one-size-fits-all’ oboe reed simply is not possible. Commercial reed makers make reeds with the aim of producing an accessible reed that will work well for most players, and often create 2-3 specific products aimed at players of different experience levels.
That being said, you may need to adjust some aspects of your playing when trying a new reed brand, especially if the reed feels different from the reeds you are used to. Experiment with slight changes to air pressure while trying a new reed, so you can find the sound quality that fits your preferences. If the reed is too high in pitch overall, try playing with your embouchure/lips closer to the tip of the reed, and if the reed feels flat overall, try with the embouchure a tiny bit further down.
A private teacher can be a huge help when determining the best reeds for your unique circumstances. If you have one, ask them for their opinion! They know your playing style best and will be able to recommend reeds that work best for you, and they may even adjust your reeds for you to suit you even better. If you don’t have a private teacher, consider taking private lessons! If you need help finding a private teacher in your area, feel free to reach out to info@reedsuppliescanada.ca, as we keep a directory of private oboe teachers across Canada.
Ensure your reed is soaked correctly
Having a correctly-soaked reed will set you up for success. If the reed is not soaked long enough, it will not function properly; it will be difficult to articulate low notes, and the reed could have a thin sound, or it may not make a sound at all. If the reed is soaked too long, the natural fibres of the reed will become waterlogged, and the reed will be too open. The result is a reed that is much too hard to play, very resistant, and difficult to control.
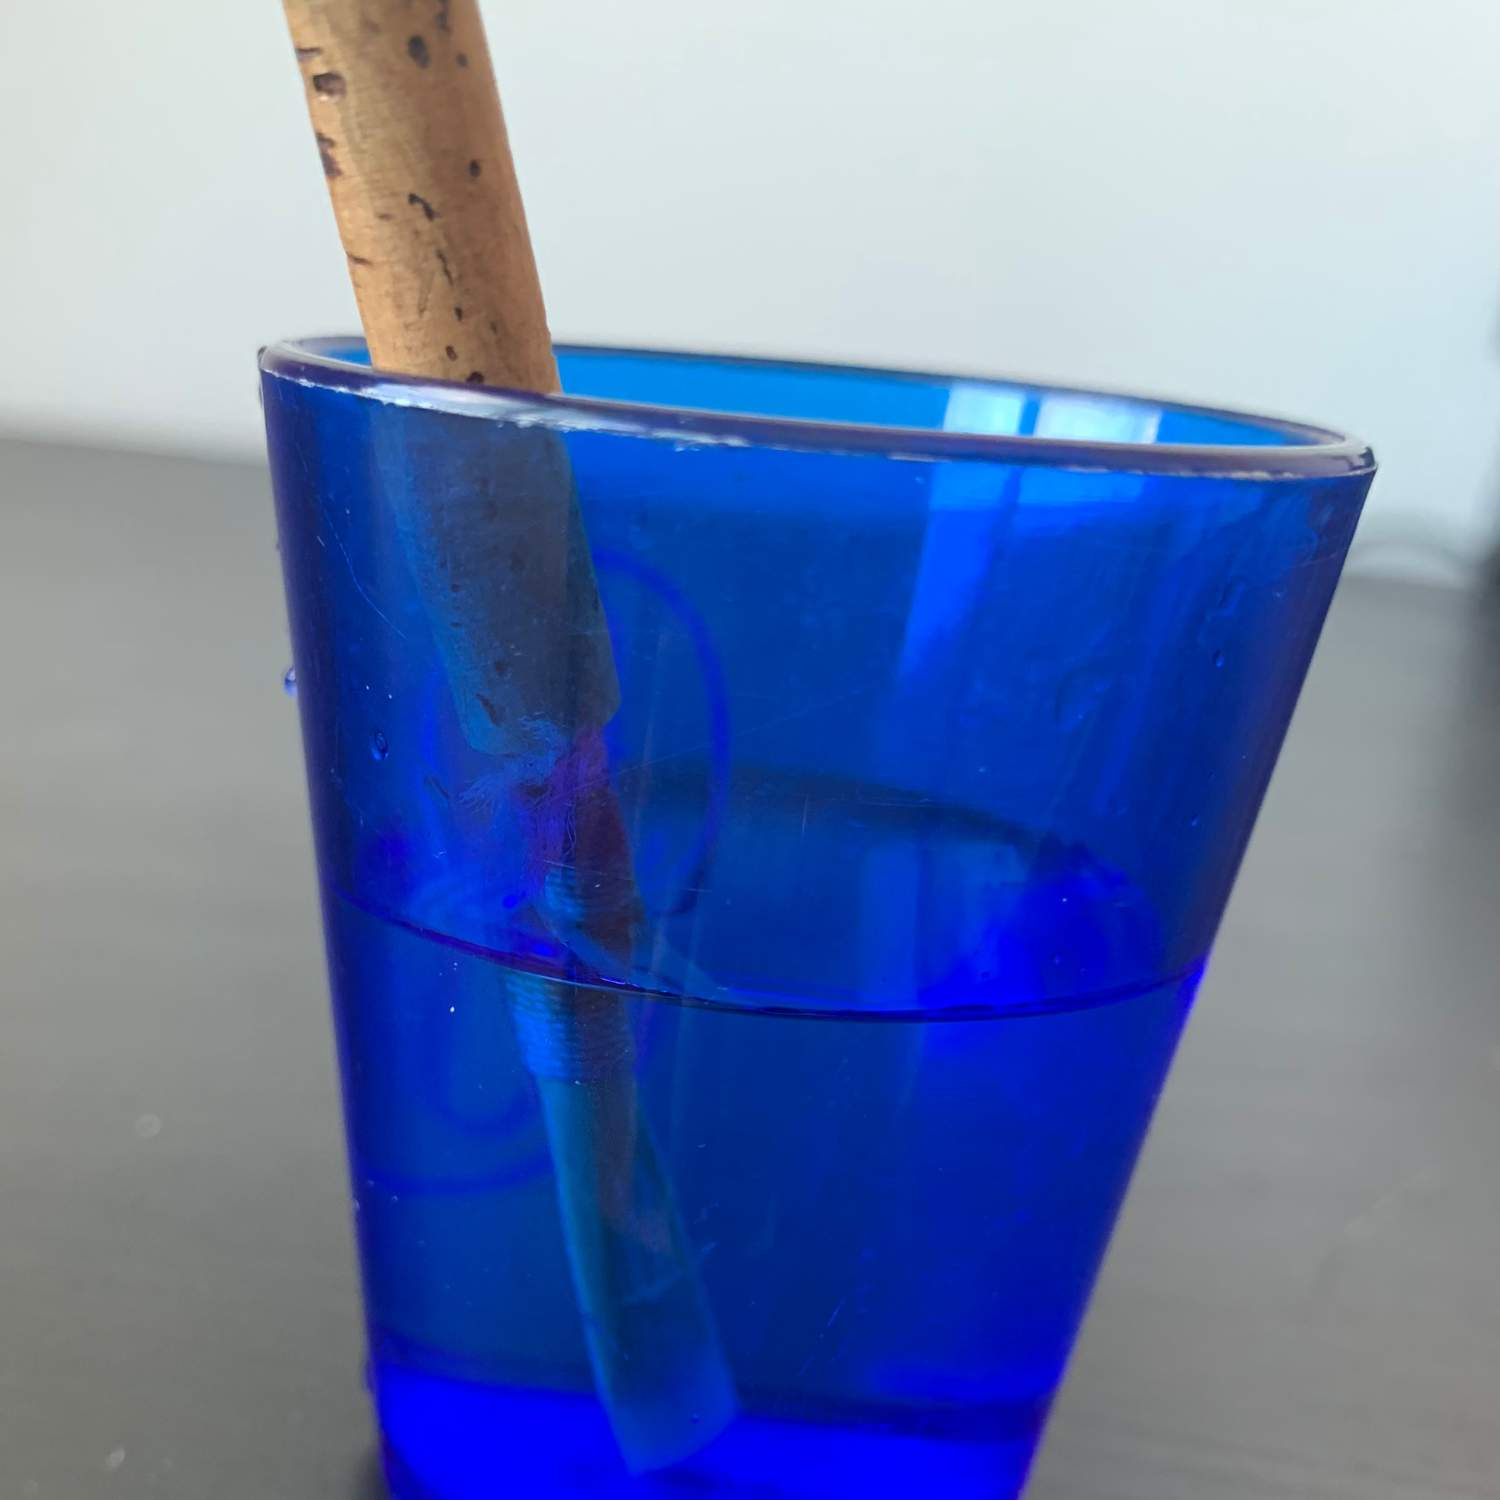
To soak your reed correctly, it should be dipped into a small water cup for 3-5 minutes. The cane (the wooden portion of the reed) needs to be fully submerged up to the thread, like so:
Soaking time depends on a few factors. If the reed is brand new, it may need to be soaked a bit longer, up to 7 minutes at the most, especially if it has been in transit for some time while being shipped to you.
The weather and humidity level also impact the amount of time a reed needs to be soaked. In cold or dry weather, soak for closer to 5 minutes. In warm or humid weather, soak for closer to 3 minutes.
The temperature of the water you soak your reed in also makes a difference. If you soak your reed in warm (never boiling hot) water, it will require less soaking time overall. If your soaking water cup is cold, especially if you just commuted outside in the winter, you may need to soak your reed slightly longer overall.
Adjust the tip opening size
The tip opening is the size of the hole at the top, where air enters the reed. The size of the tip opening can be affected by changes in temperature and humidity during the shipping process, so it’s important to check it when you receive a new reed, especially if the reed is not working the way you expected.
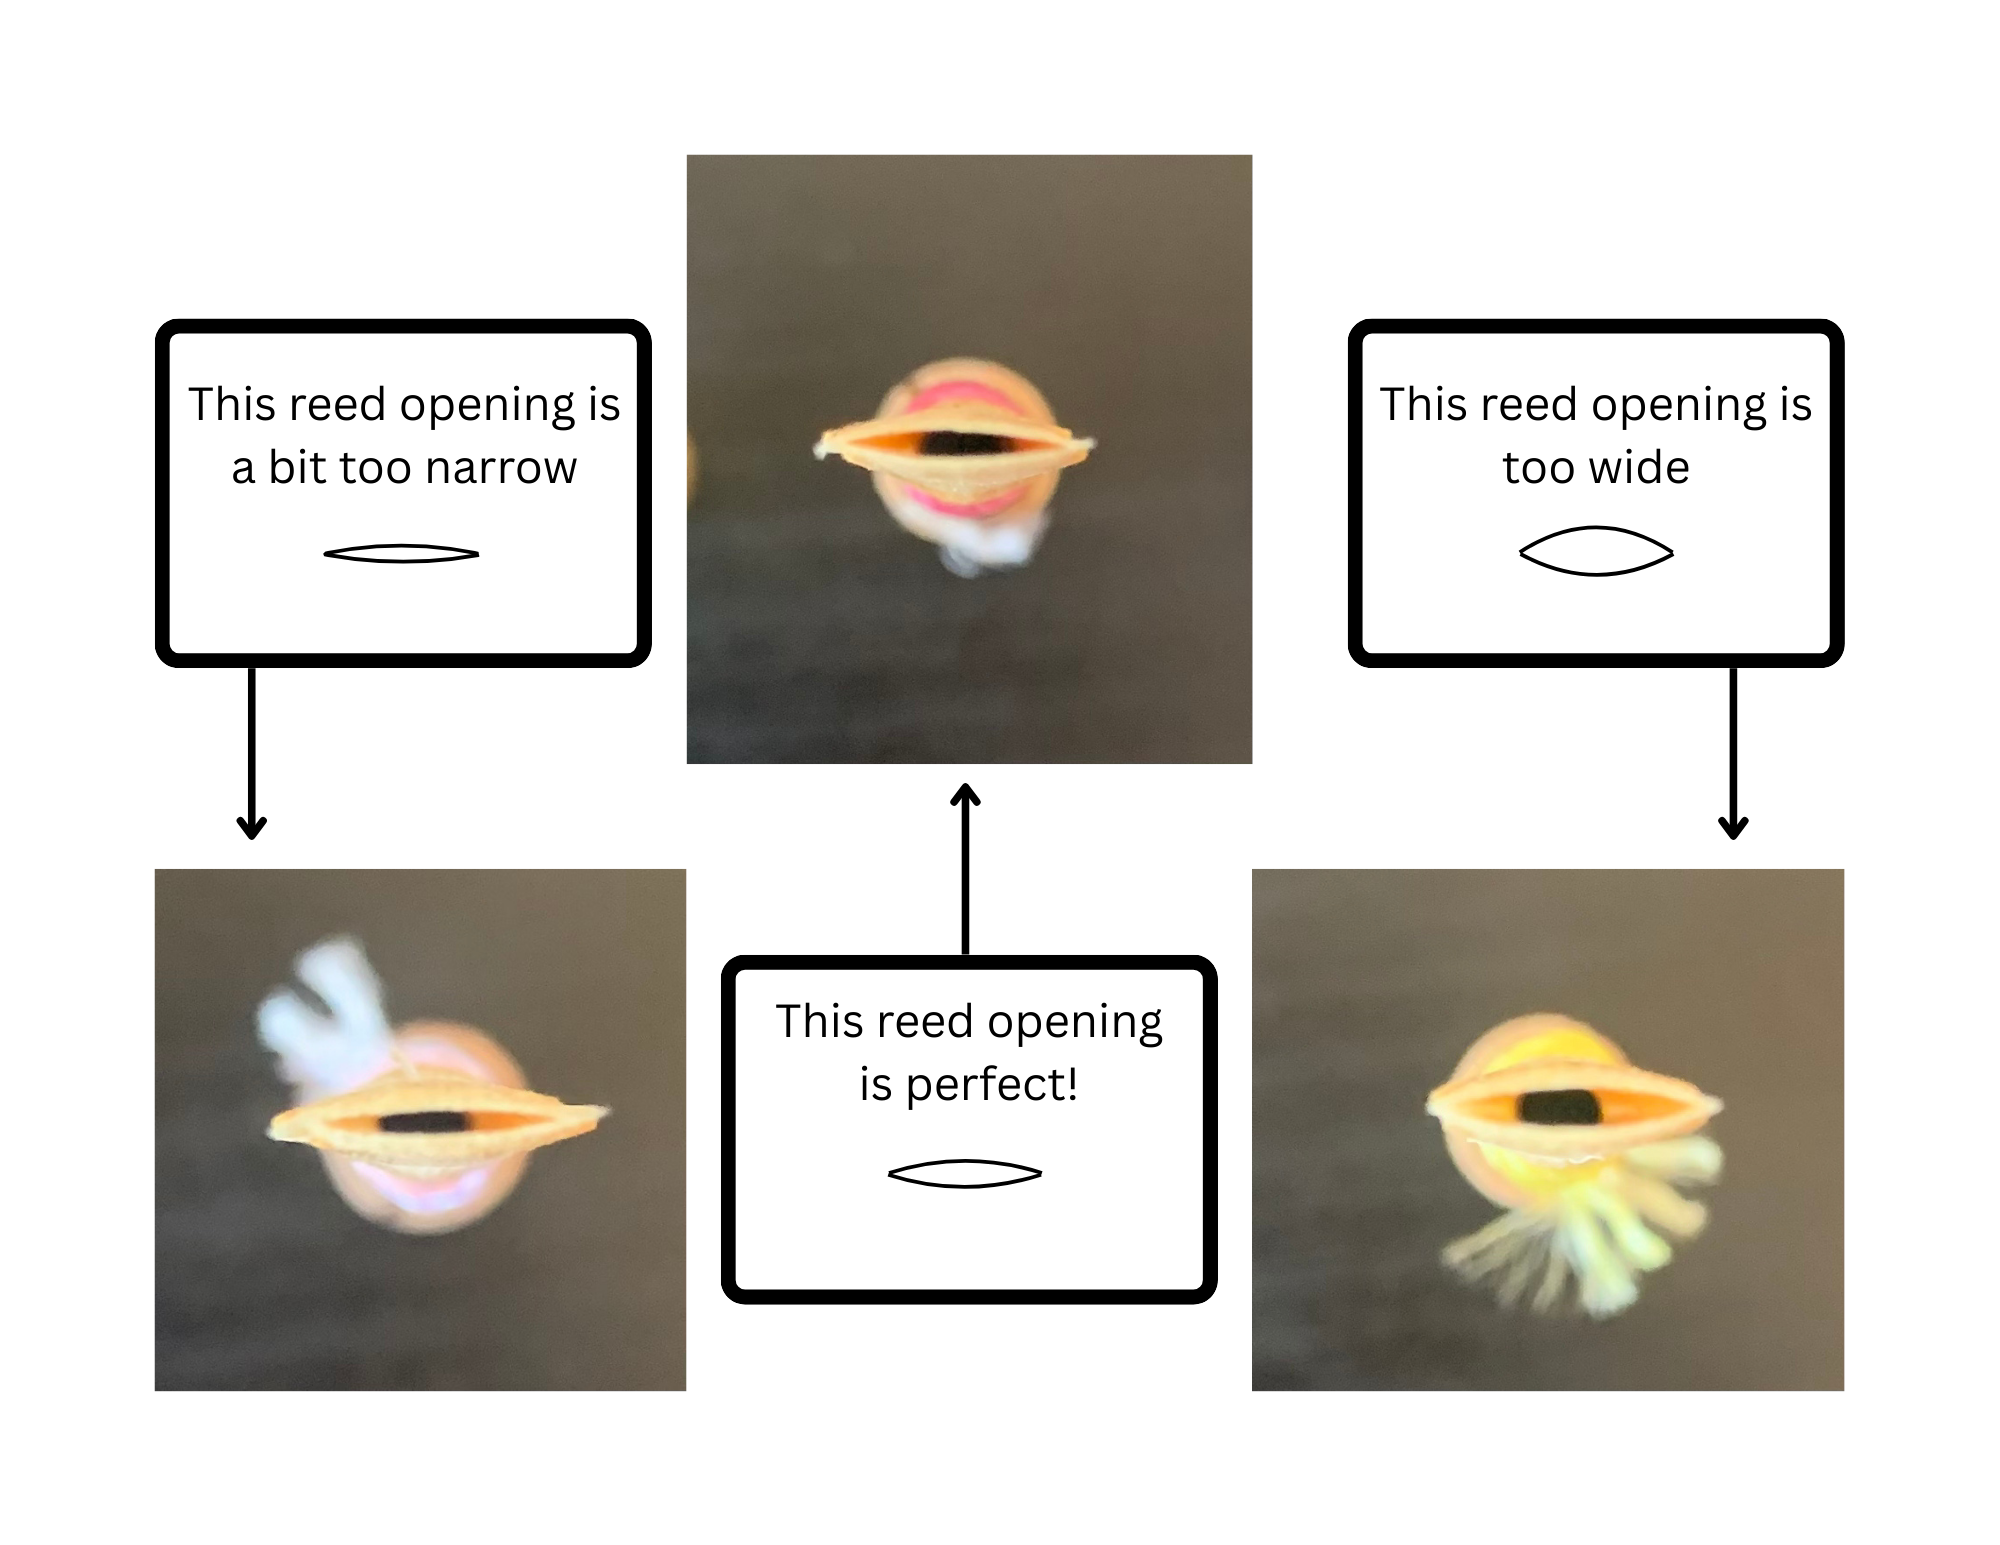
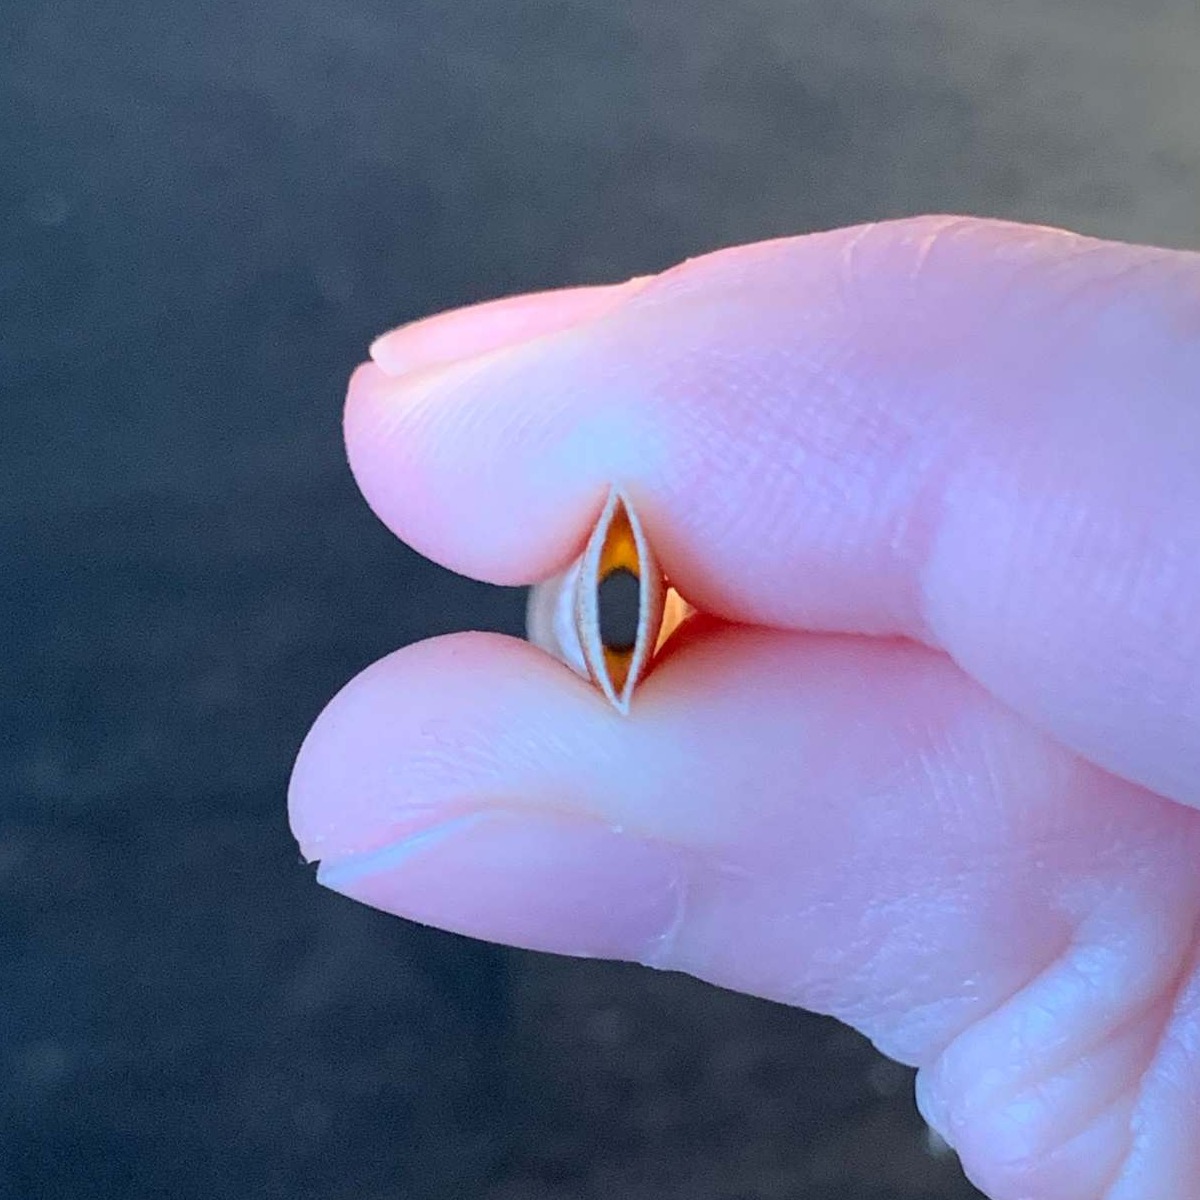
If the tip opening is too large, your reed will be much too resistant (and may not even make a sound at all). If it is too small, the reed will have a soft and thin sound. Here’s a diagram of tip opening sizes when you look into the top of a reed, so you can compare against your reed:
To make the tip opening smaller:
First, ensure your reed has been properly soaked in water for 3-5 minutes. (Don’t try this technique while the reed is dry because it will crack!)
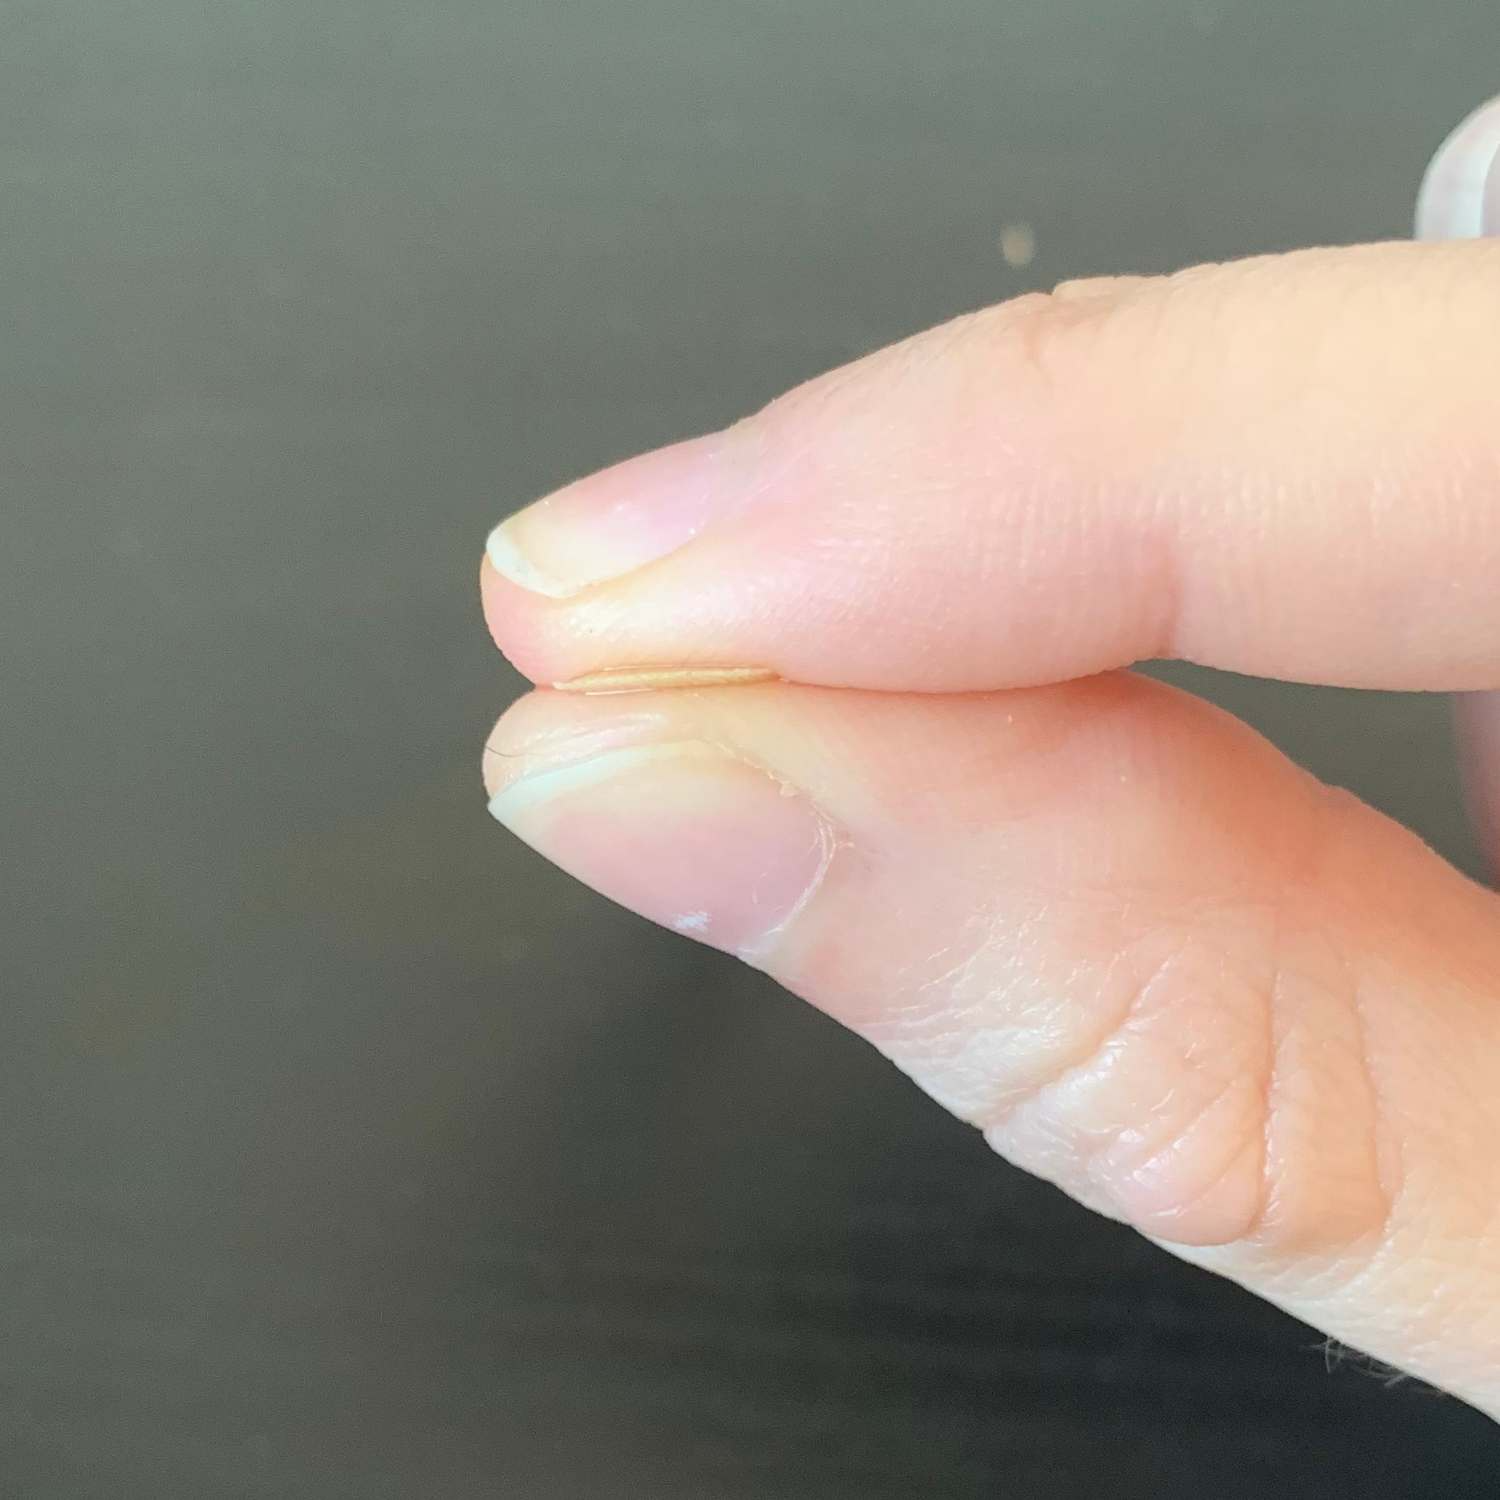
Next, gently massage the reed between your thumb and index finger. The reed should close completely while massaging it. After 10-15 seconds, check the tip opening again and try your reed to see if it has improved.
In this second image, the top of the reed can be seen closed between my fingertips.
To make the tip opening bigger:
First, ensure your reed has been soaked in water for a sufficient amount of time. If the reed is not soaked long enough, the tip opening may appear smaller than it actually is.
If the opening is still too small even when the reed is soaked, gently squeeze the sides of the reed until you see the tip opening increasing in size. Try the reed to see if this has made an improvement.
Test for leaks
Leaks in the reed can make it more difficult to play on, and while a reed that has not been soaked long enough is more likely to leak, it’s possible for a properly-soaked reed to leak as well.
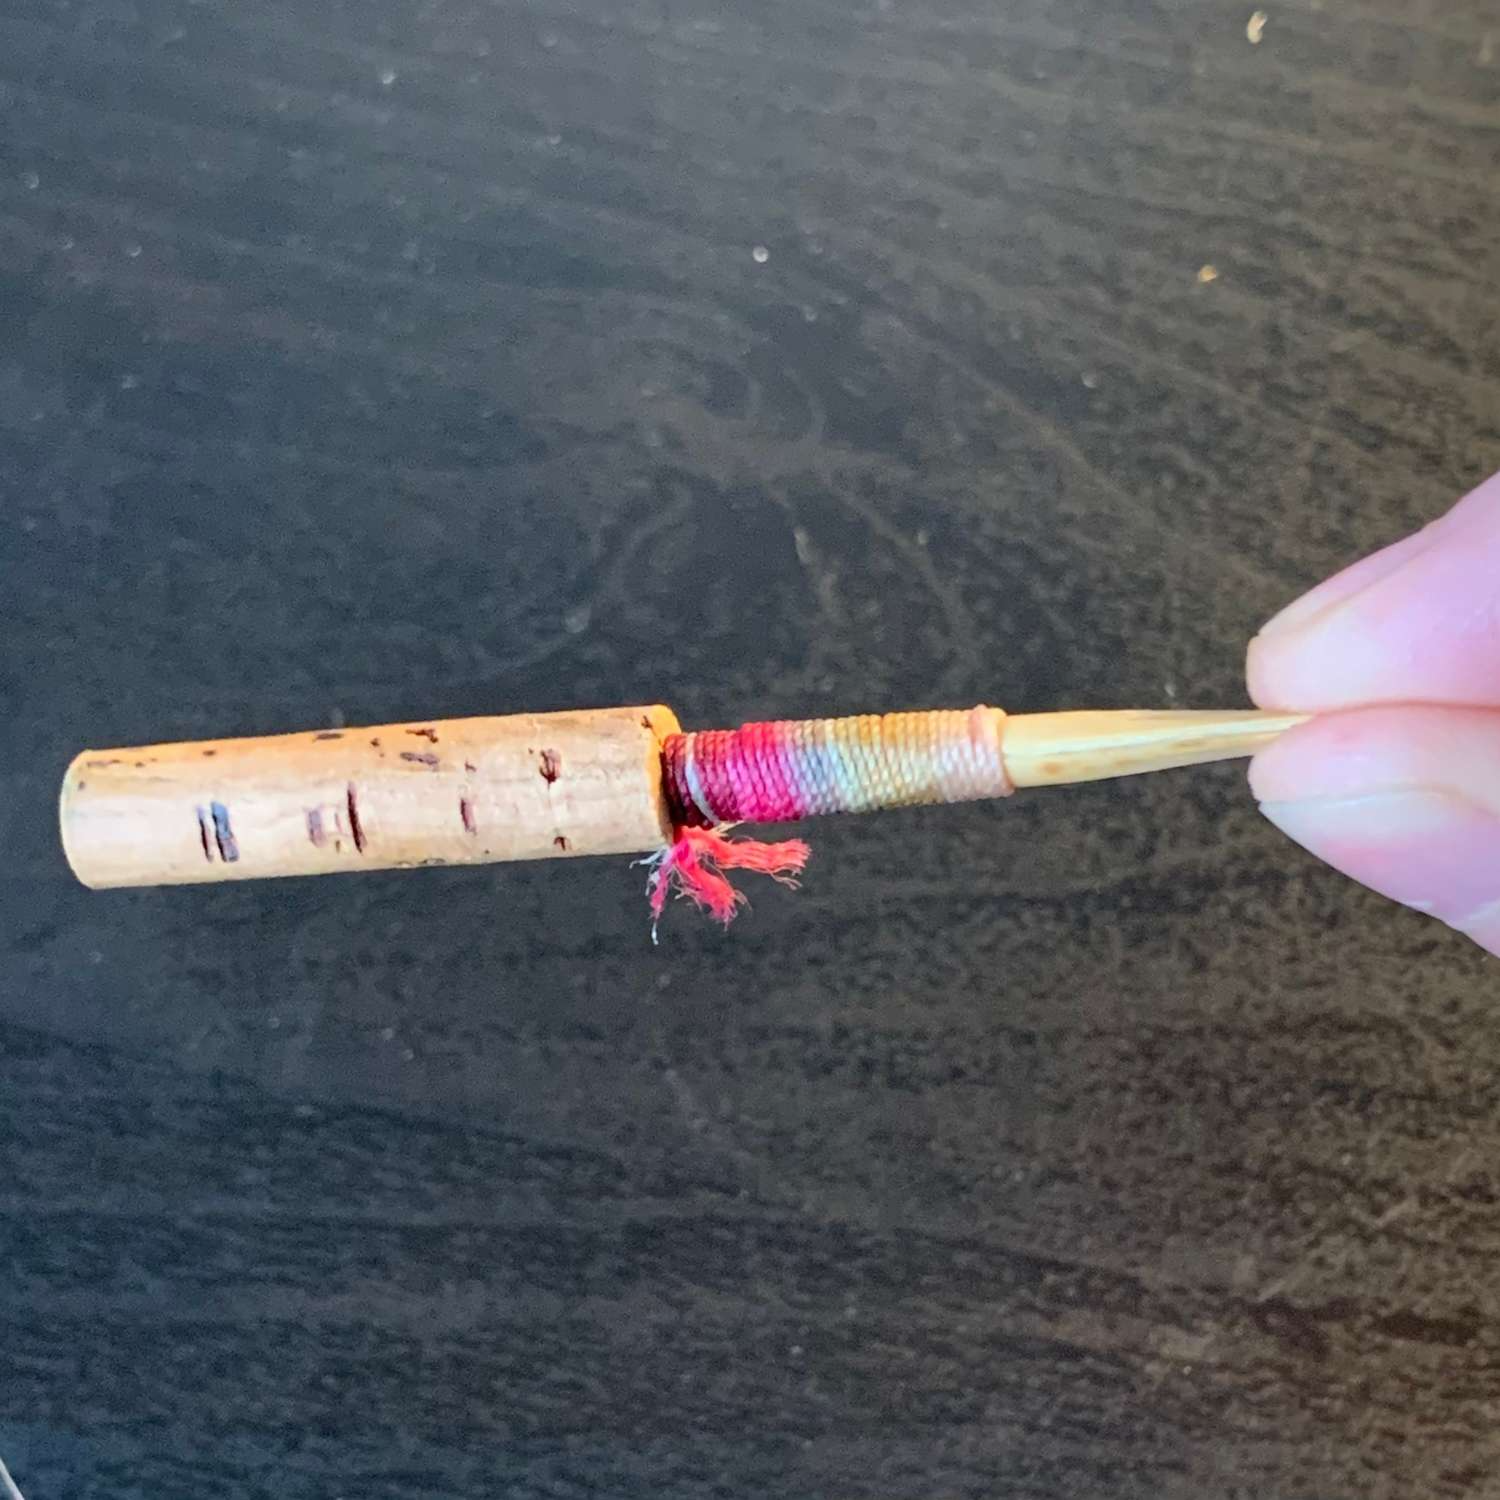
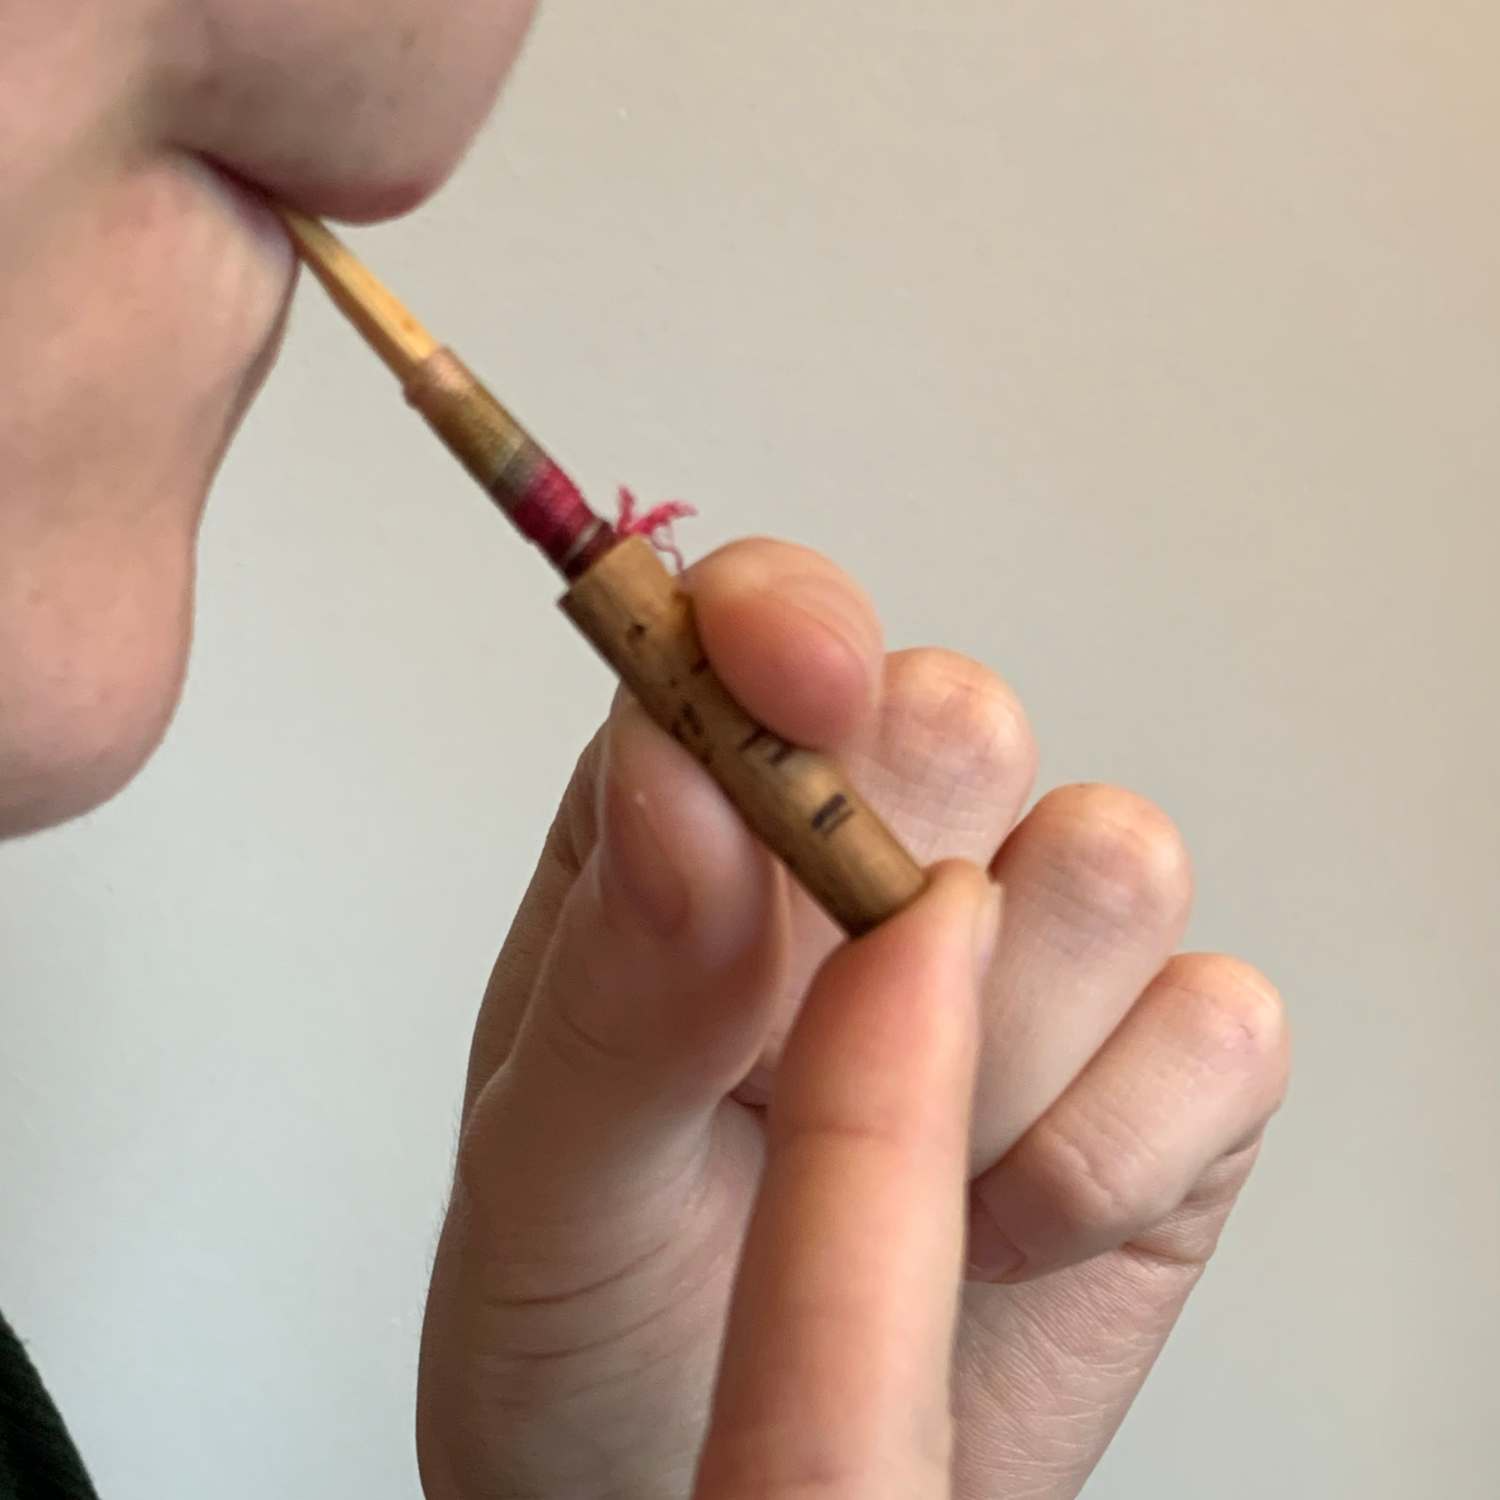
You can check for leaks by soaking the reed, then completely covering the cork end of the reed with a finger and blowing into the reed from your usual playing position. You should feel resistance, and the air should not escape from anywhere along the sides of the reed. It will look like this while testing:
If you feel air leaking right below your lips, consider moving your embouchure position slightly lower while playing that specific reed.
If you feel the air leaking closer to the thread, you can try soaking the reed for a longer time or adding some fishskin paper to seal the leak. Fishskin paper is a synthetic material that creates an airtight seal when activated by water. Simply cut a long rectangle of approximately 1cm by 7cm, dip the rectangle in water so that the paper sticks to itself, then wrap the paper around the leaking portion of the reed and/or thread. Be sure to pull tightly on the final wrap so the paper stays put.
Check for damage
Although reeds are meticulously checked before shipping, it is possible (though unlikely) for the delicate reeds to be damaged during the shipping process. When you receive a new reed, be sure to check it for damage before playing.
Damage can include chips in the tip, bending or fraying in the tip, or cracks in the tip or in the middle of the reed. Here’s what a minor chip in the tip looks like:

If you recently purchased a reed from us and believe it to be damaged on receipt, take a photo and reach out to us at info@reedsuppliescanada.ca.
Try a different reed strength
If your reed still feels uncomfortable to play on, you may need to adjust the reed strength that you purchase going forward.
If it takes a great deal of energy and effort to produce a sound at all, or your embouchure muscles feel tired much sooner than usual while playing, your reed might be too hard. For beginners, medium-soft reeds are usually recommended, as they provide a good balance between ease and playability, while giving just enough resistance to encourage correct embouchure position.
If you don’t like the sound quality of your reed and you are a more experienced player, you might want to consider purchasing a harder strength reed. Medium-soft reeds are designed to work well for a beginner, but once you start to build up strength in your embouchure and air support muscles, a medium or medium-hard reed might be better suited to your playing.
Conclusion
I hope these troubleshooting tips about reed soaking, tip opening size, leaks and damage, and reed strength help you get the most out of your new reed. If you are interested in learning to adjust your own reeds, check out our article on The Basics of Oboe Reed Adjusting!